
Polar Lights Back To The Future - Delorean Time Machine
(Polar Lights 1:25 Scale Only)
A great cost effective light kit, the use of which transforms a good quality model into a superb representation )of the iconic movie vehicle that it tuly deserves to be...
Step 1
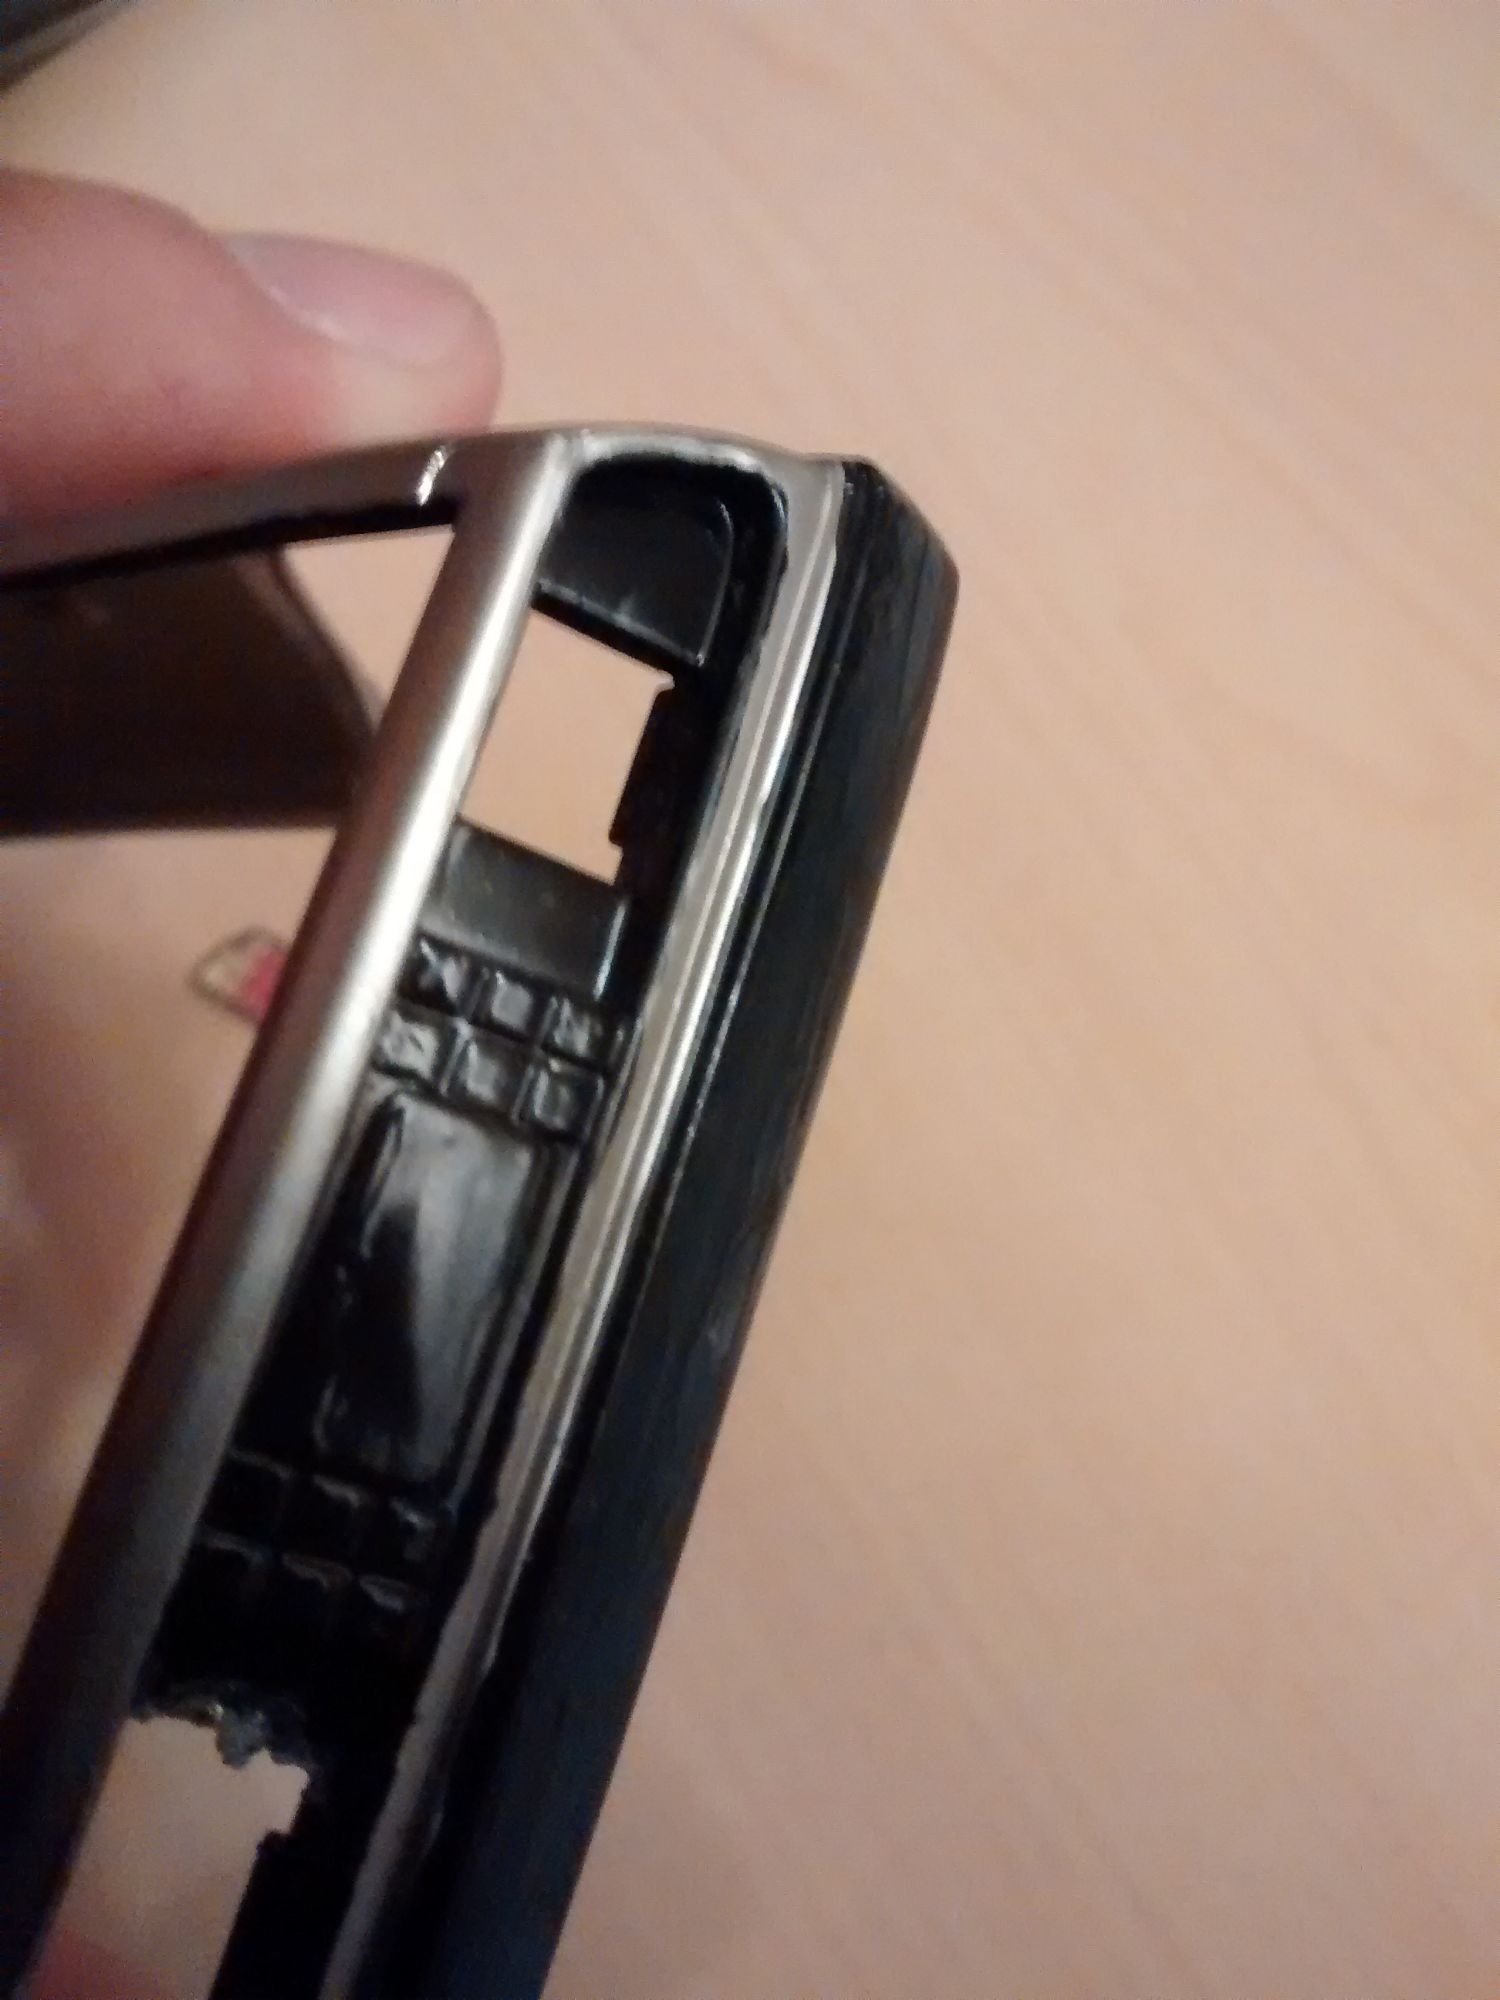
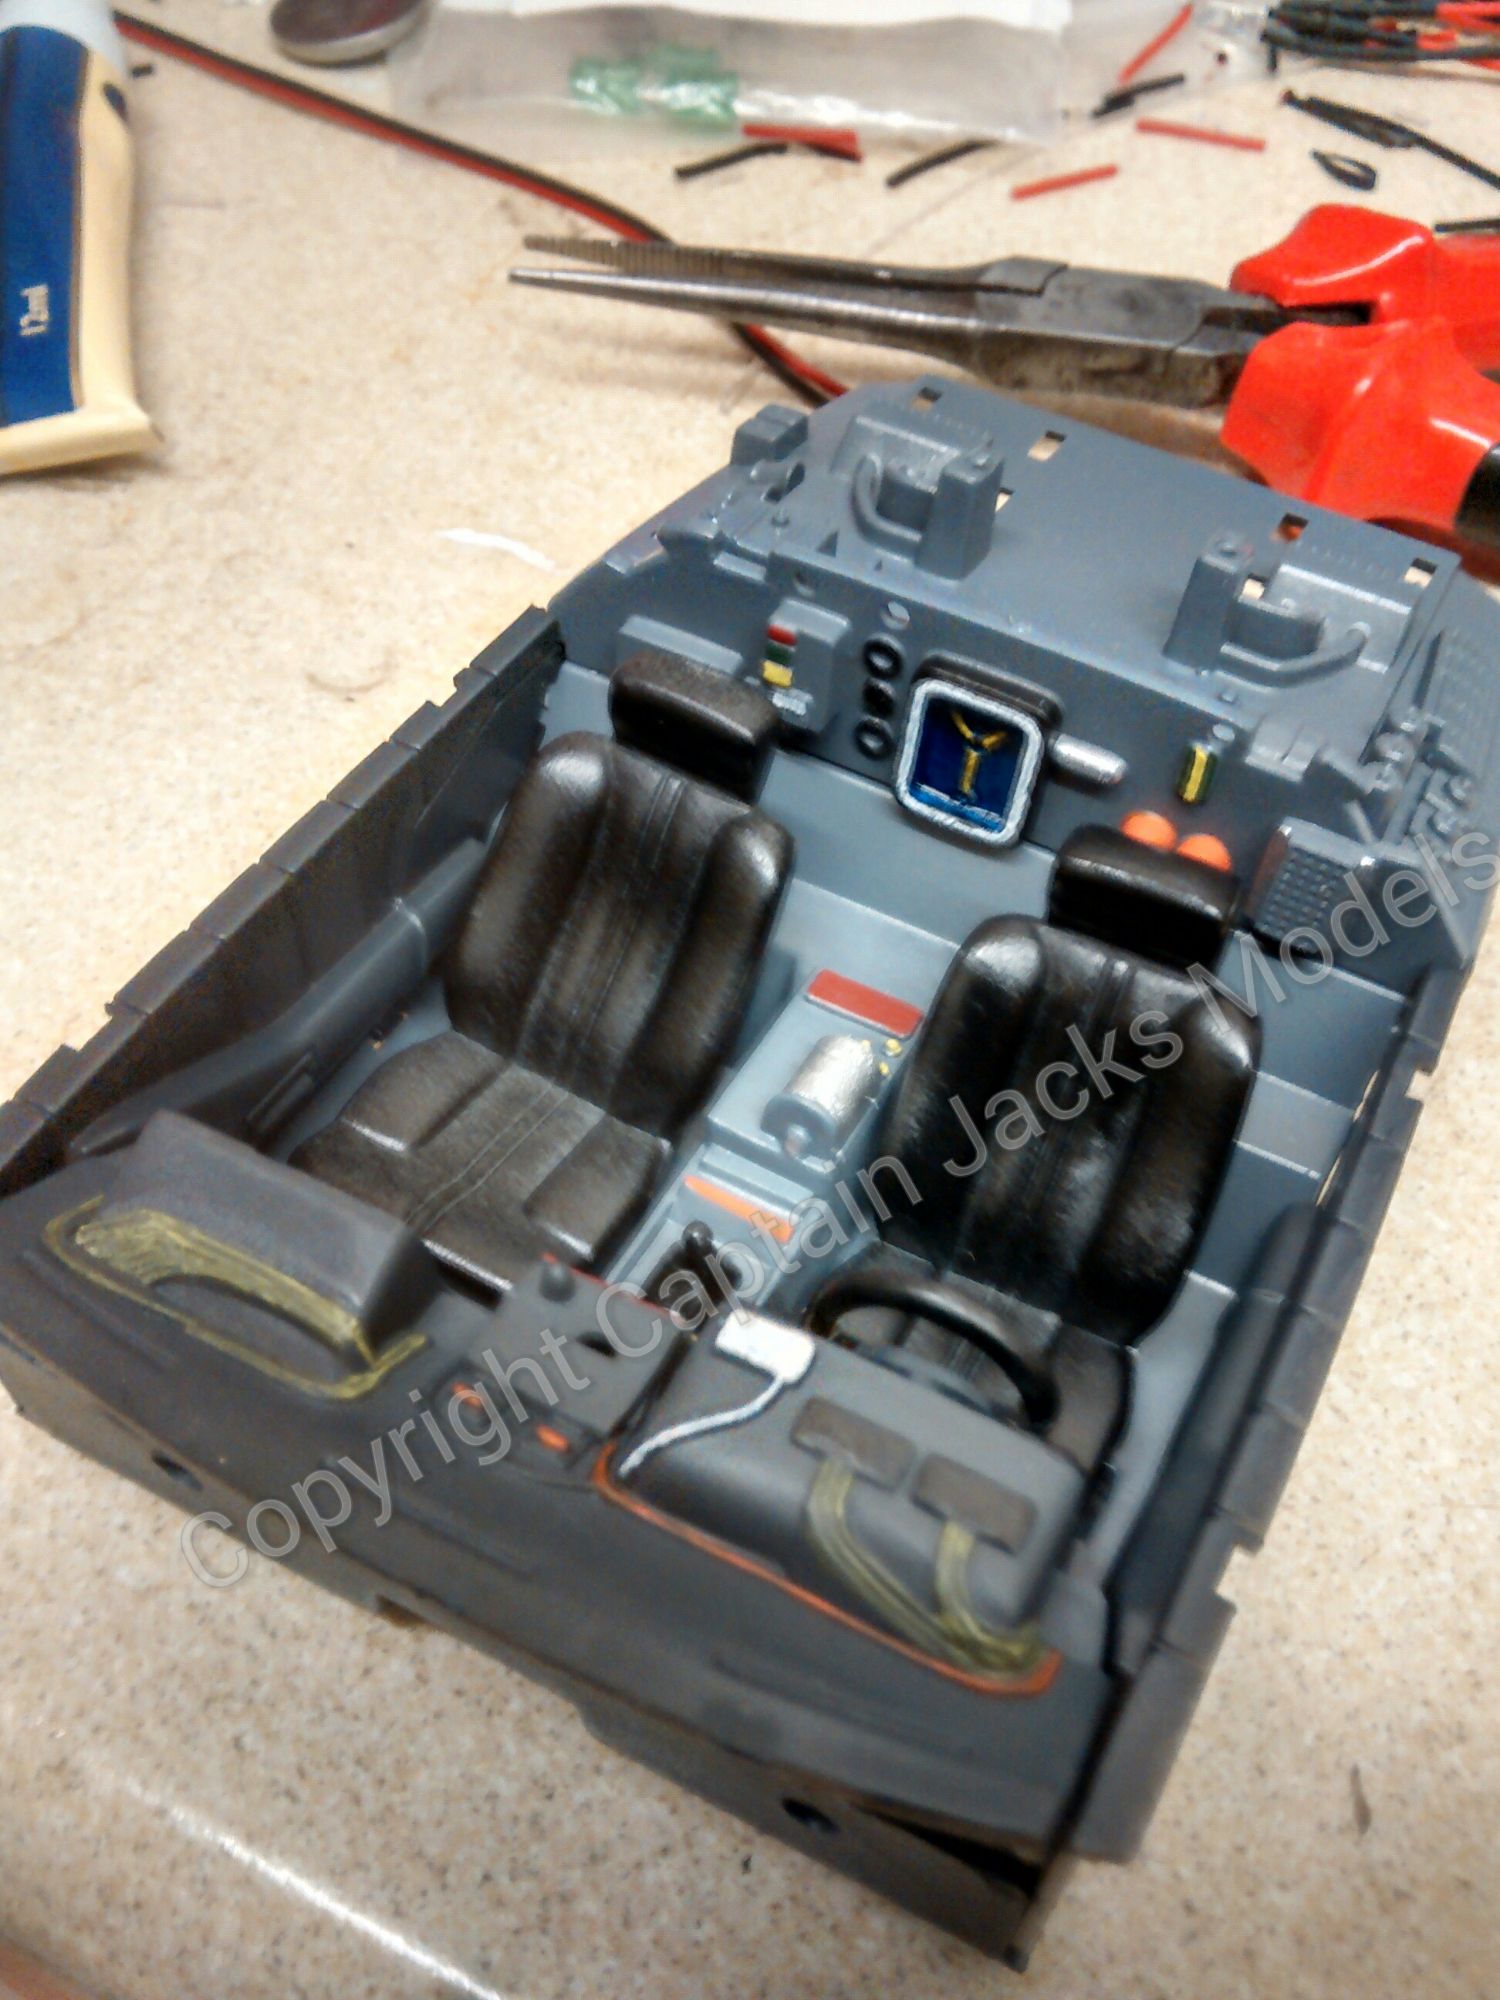
The paint prep work. As is the case with most modification processes to any model, its sometimes necessary to work out of sequence on the build. I started mine by doing some basic paintwork to the model shell. Painting the black areas inside and around the front and rear bumper & light sections are the important points here.
It's necessary to paint the front and rear black trim, even if only roughly at this stage. You can see where I've nibbled away at the near side rear light to experiment with different lighting layouts :)
Step 2
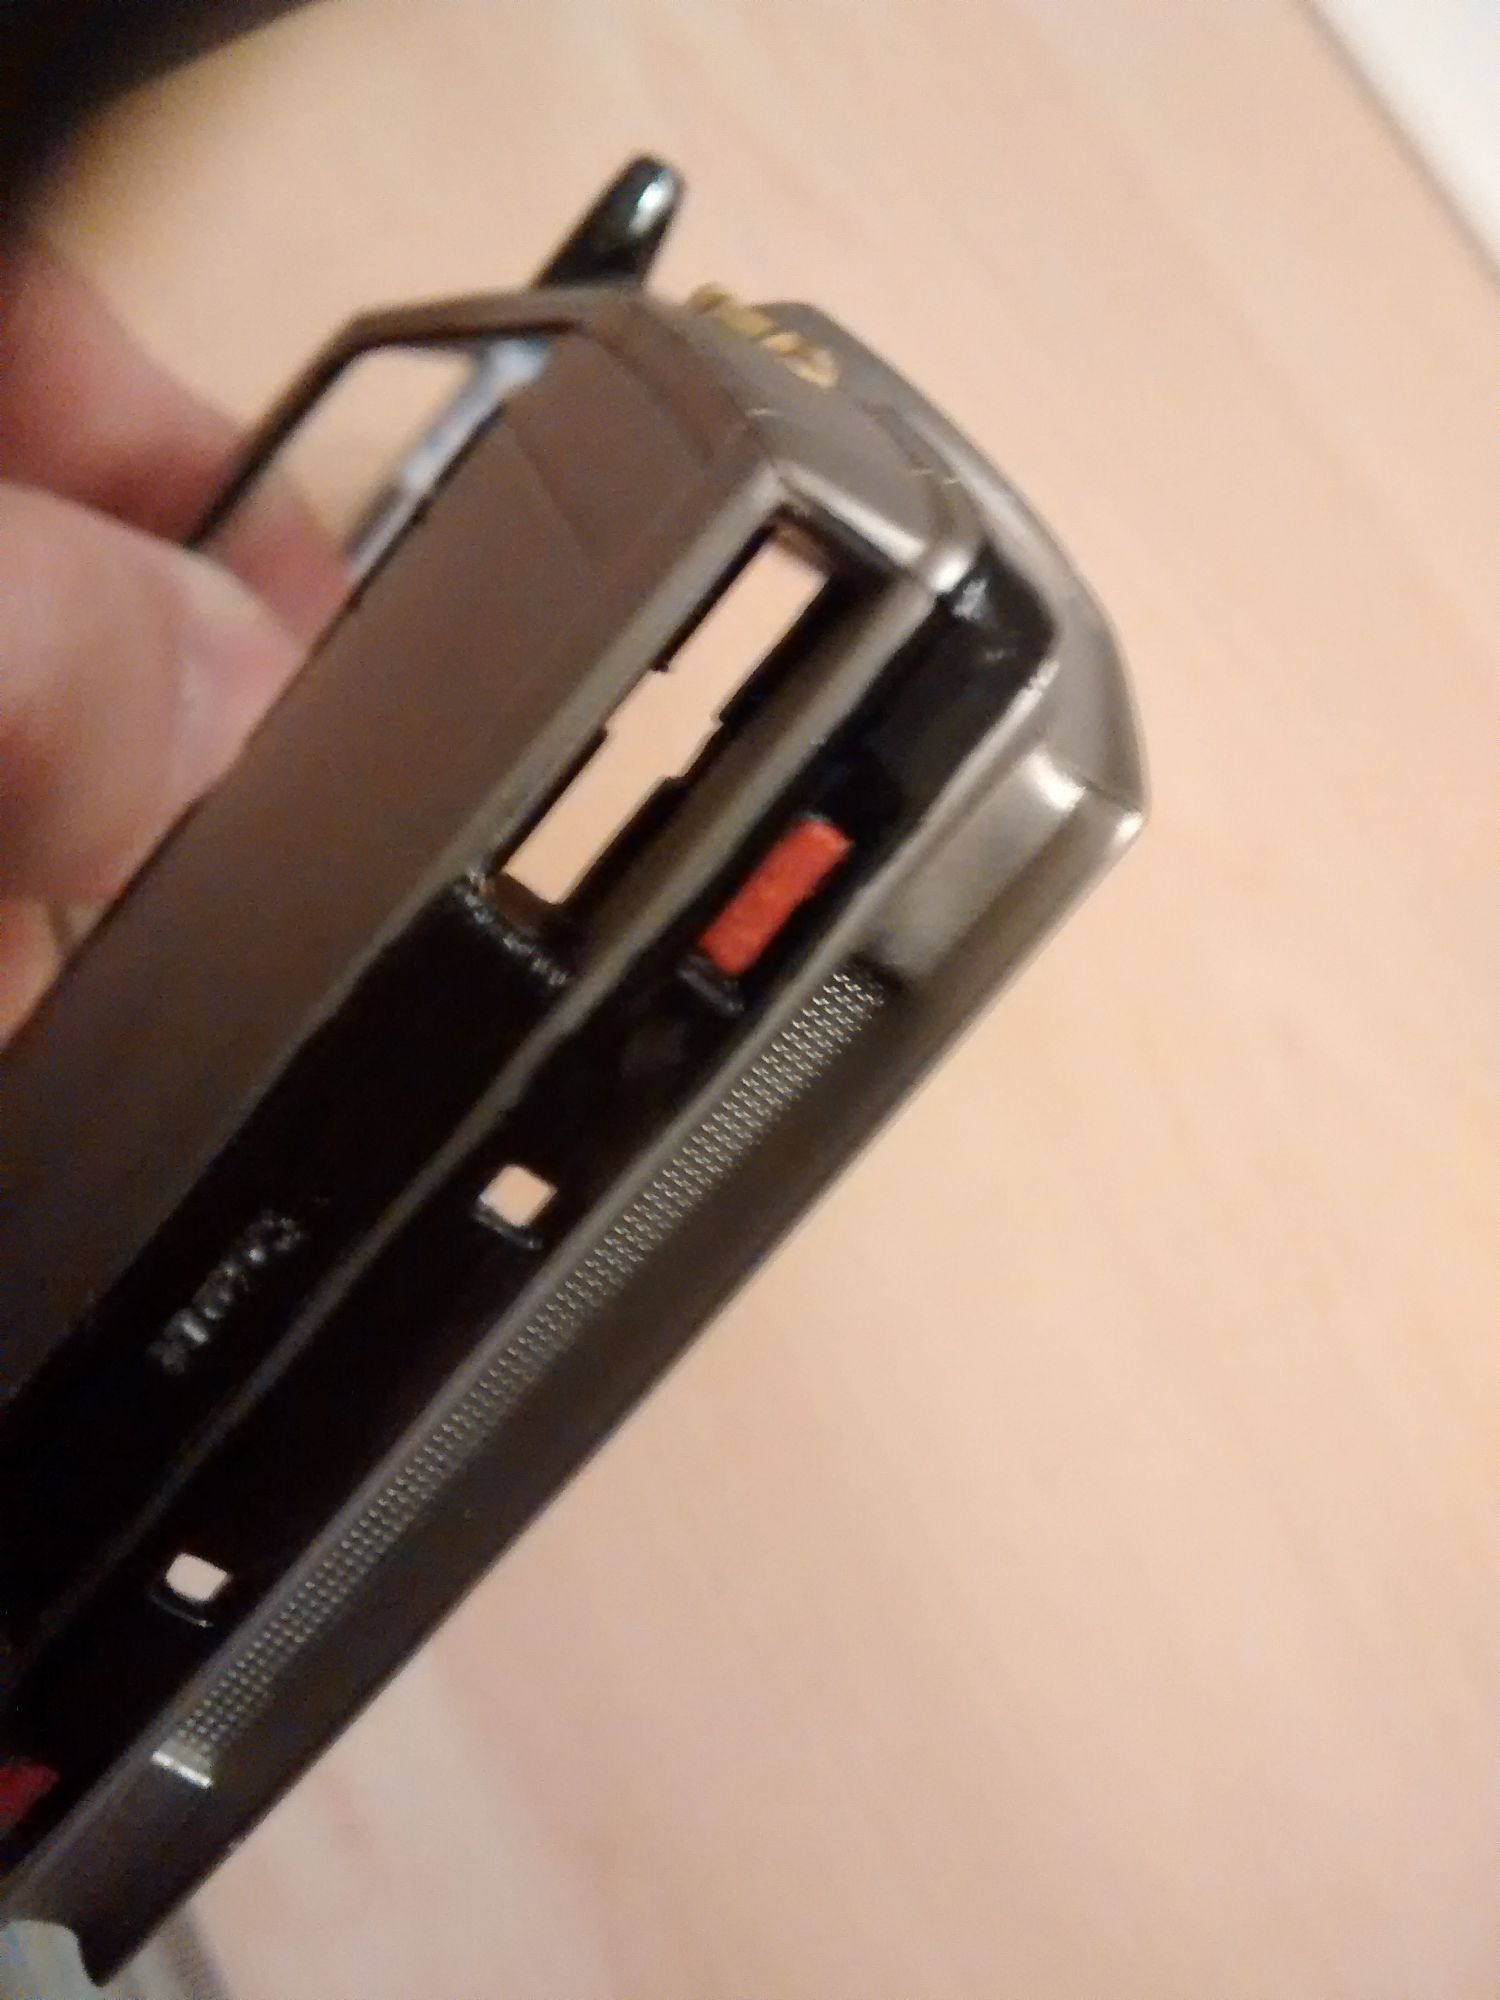
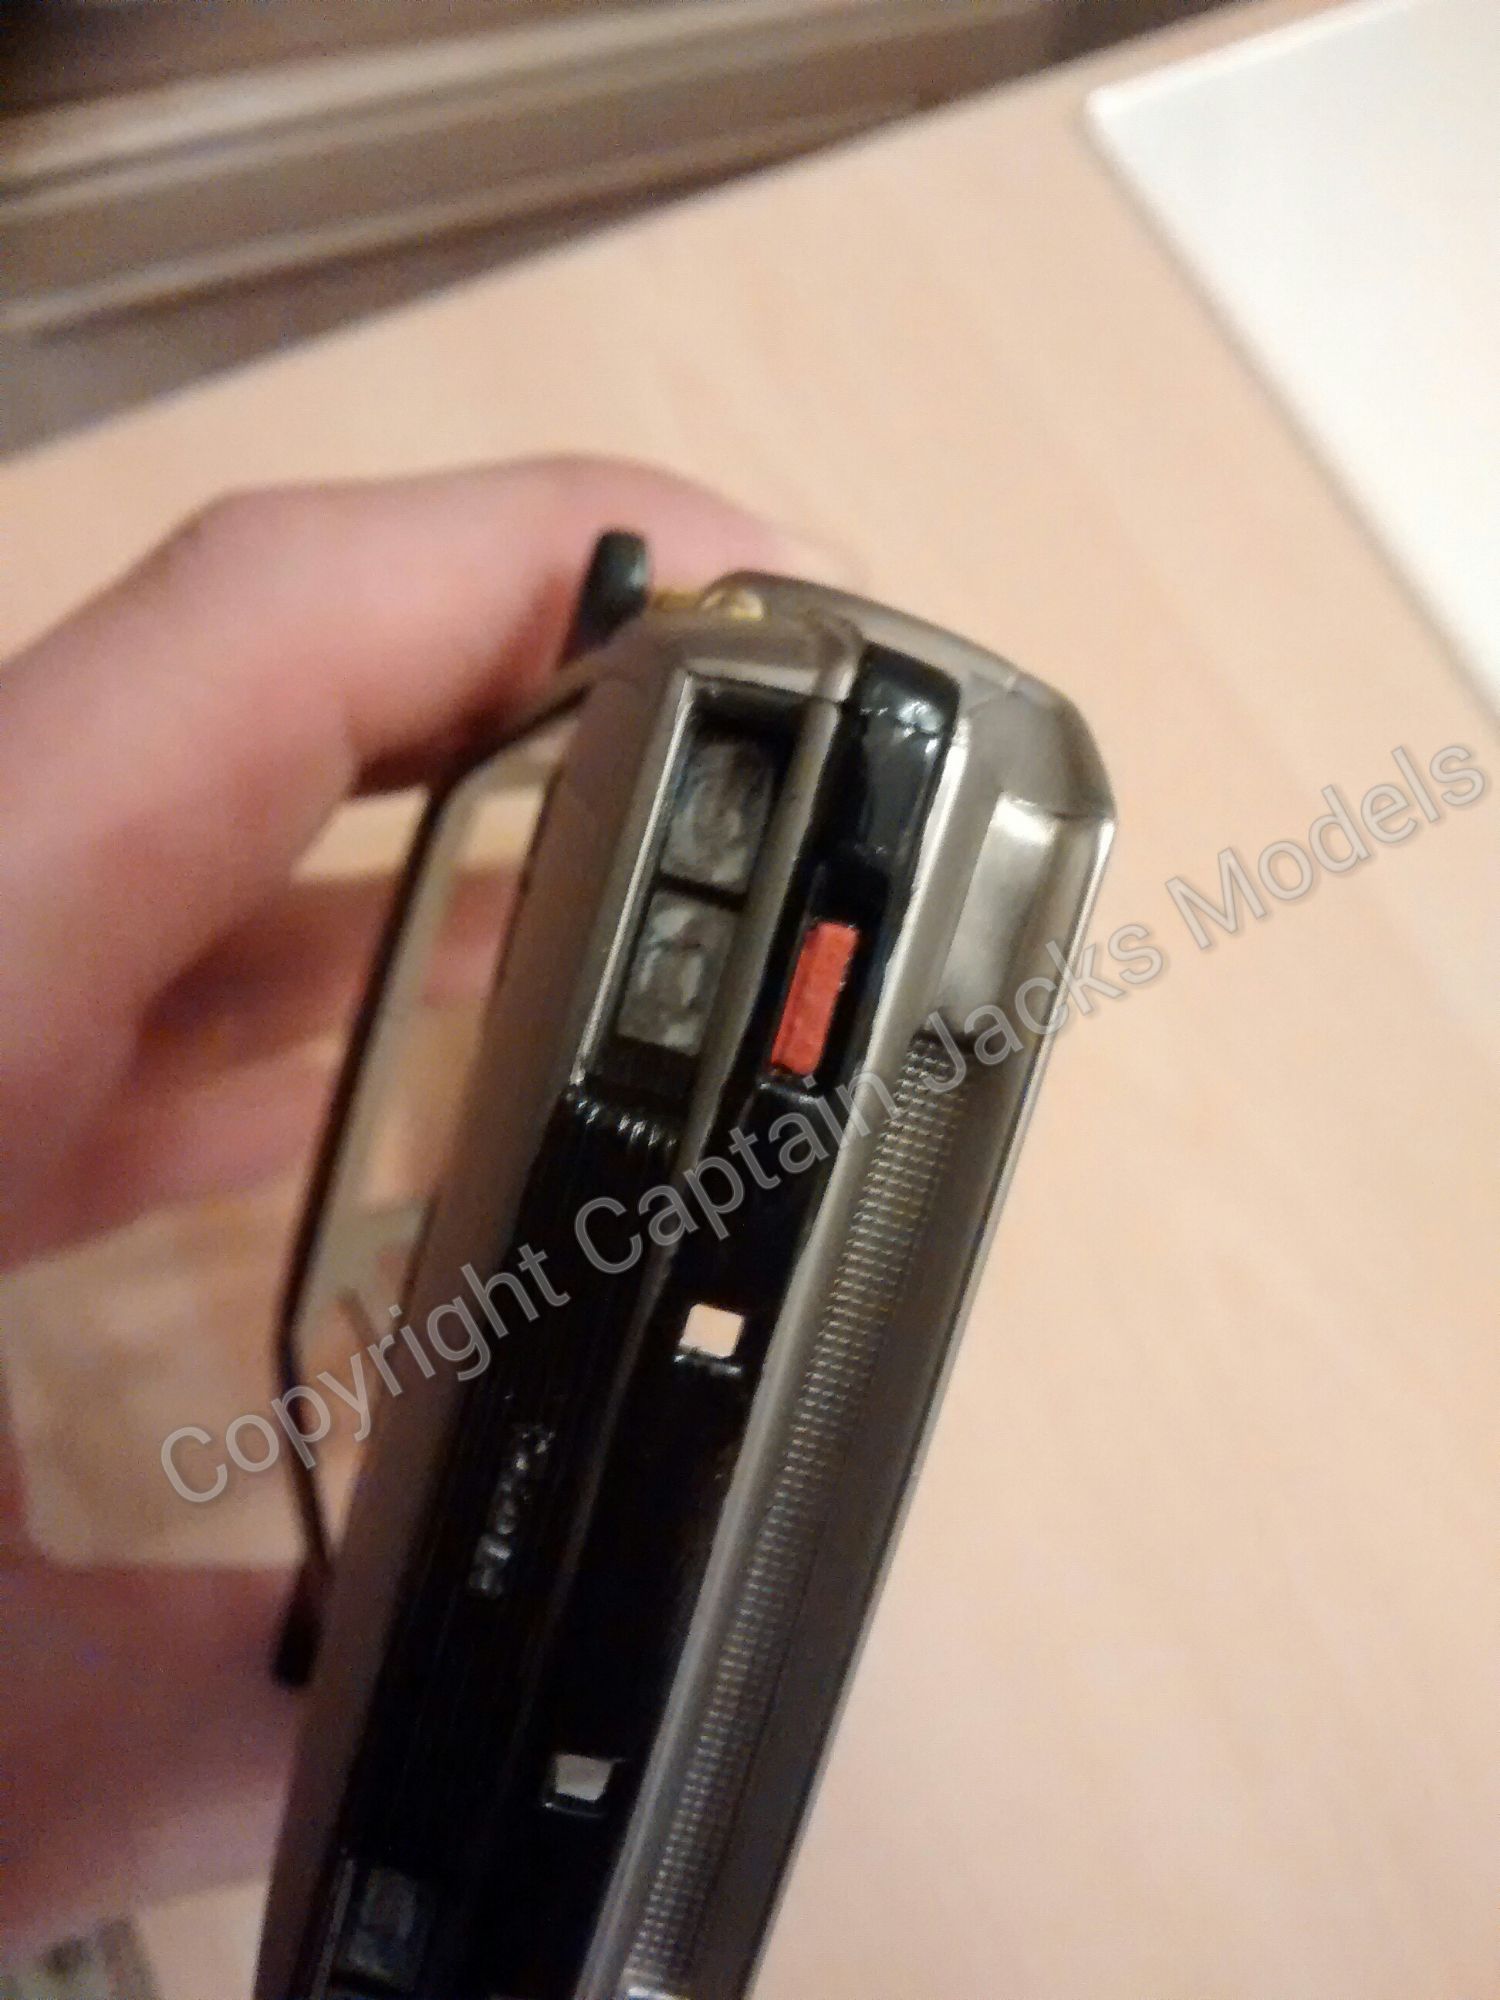
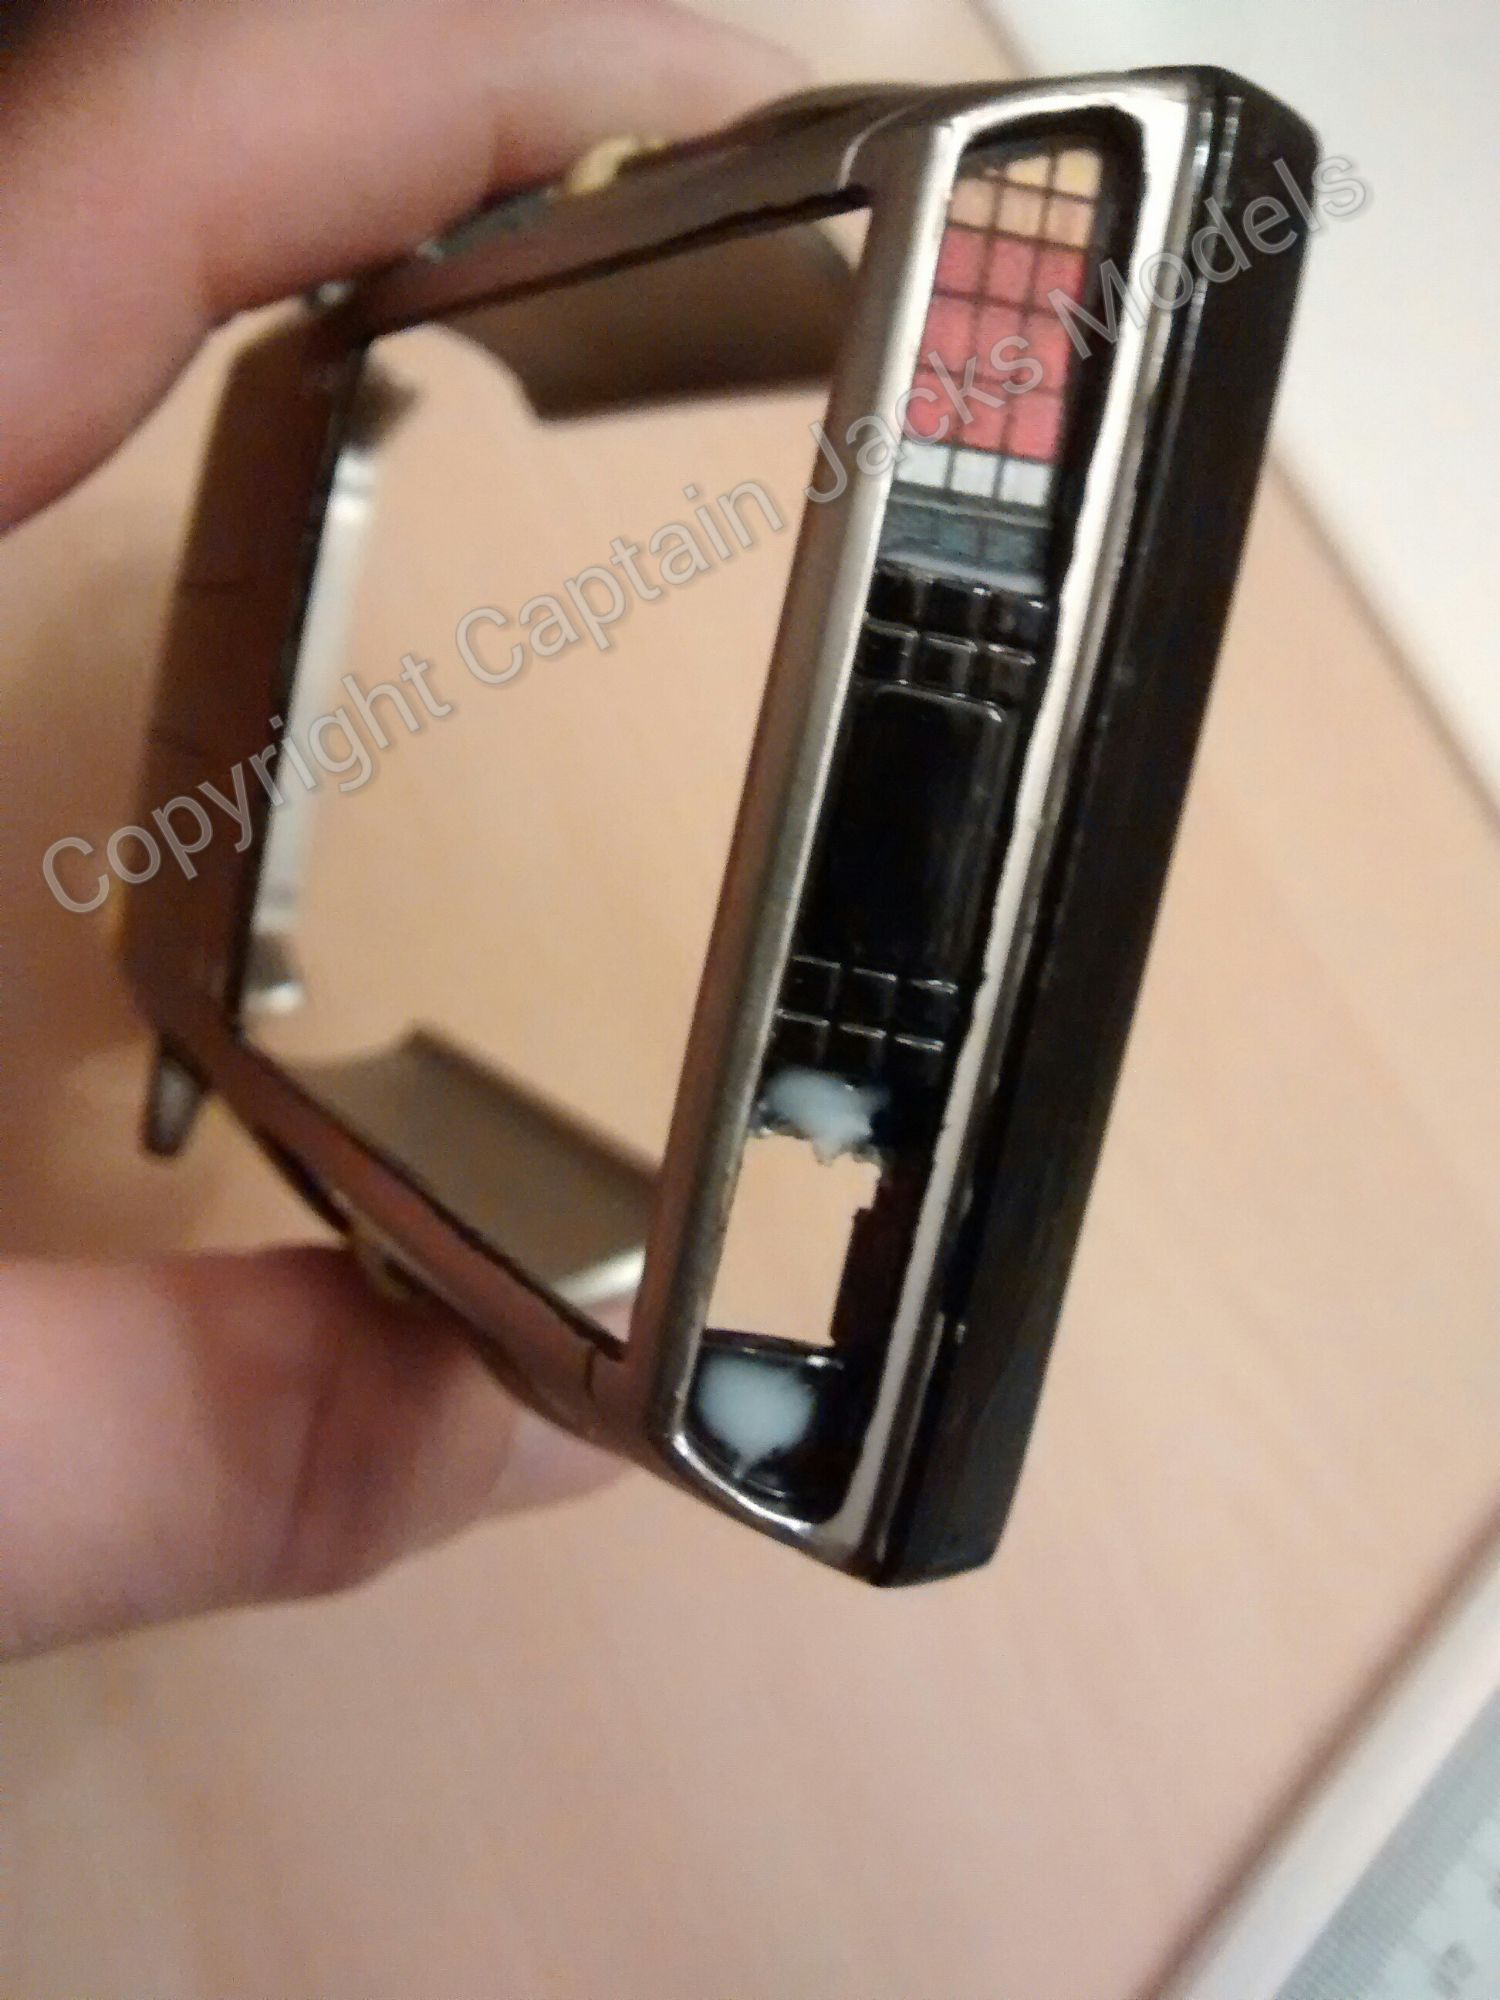
This is the cool bit where we can save a lot of work, and at the same time obtain a better finish on the model. With your light kit, you'll find some printed paper inserts containing the front and rear mid-sections of the car. We will use the lights from these instead of the chrome plastic light section parts supplied with the kit. Carefully cut out the area around each printed light unit. Leave plenty of excess on the cut, and then offer up the part to the light housing so you can trim to a better fit. Take your time and trim off a small amount only each time until you get a decent size fit for each insert. Leave enough so there isn't any light bleed from the edges of each piece. There is also a spare for each provided with your light kit, in case you do make a mistake on one :)
When you're happy with each cut section, place a small blob of pva glue (only use pva for this job to prevent discolouration) on each side of the light housing. Push the paper inserts into place - use a scalpel blade to do this ideally.

Step 3
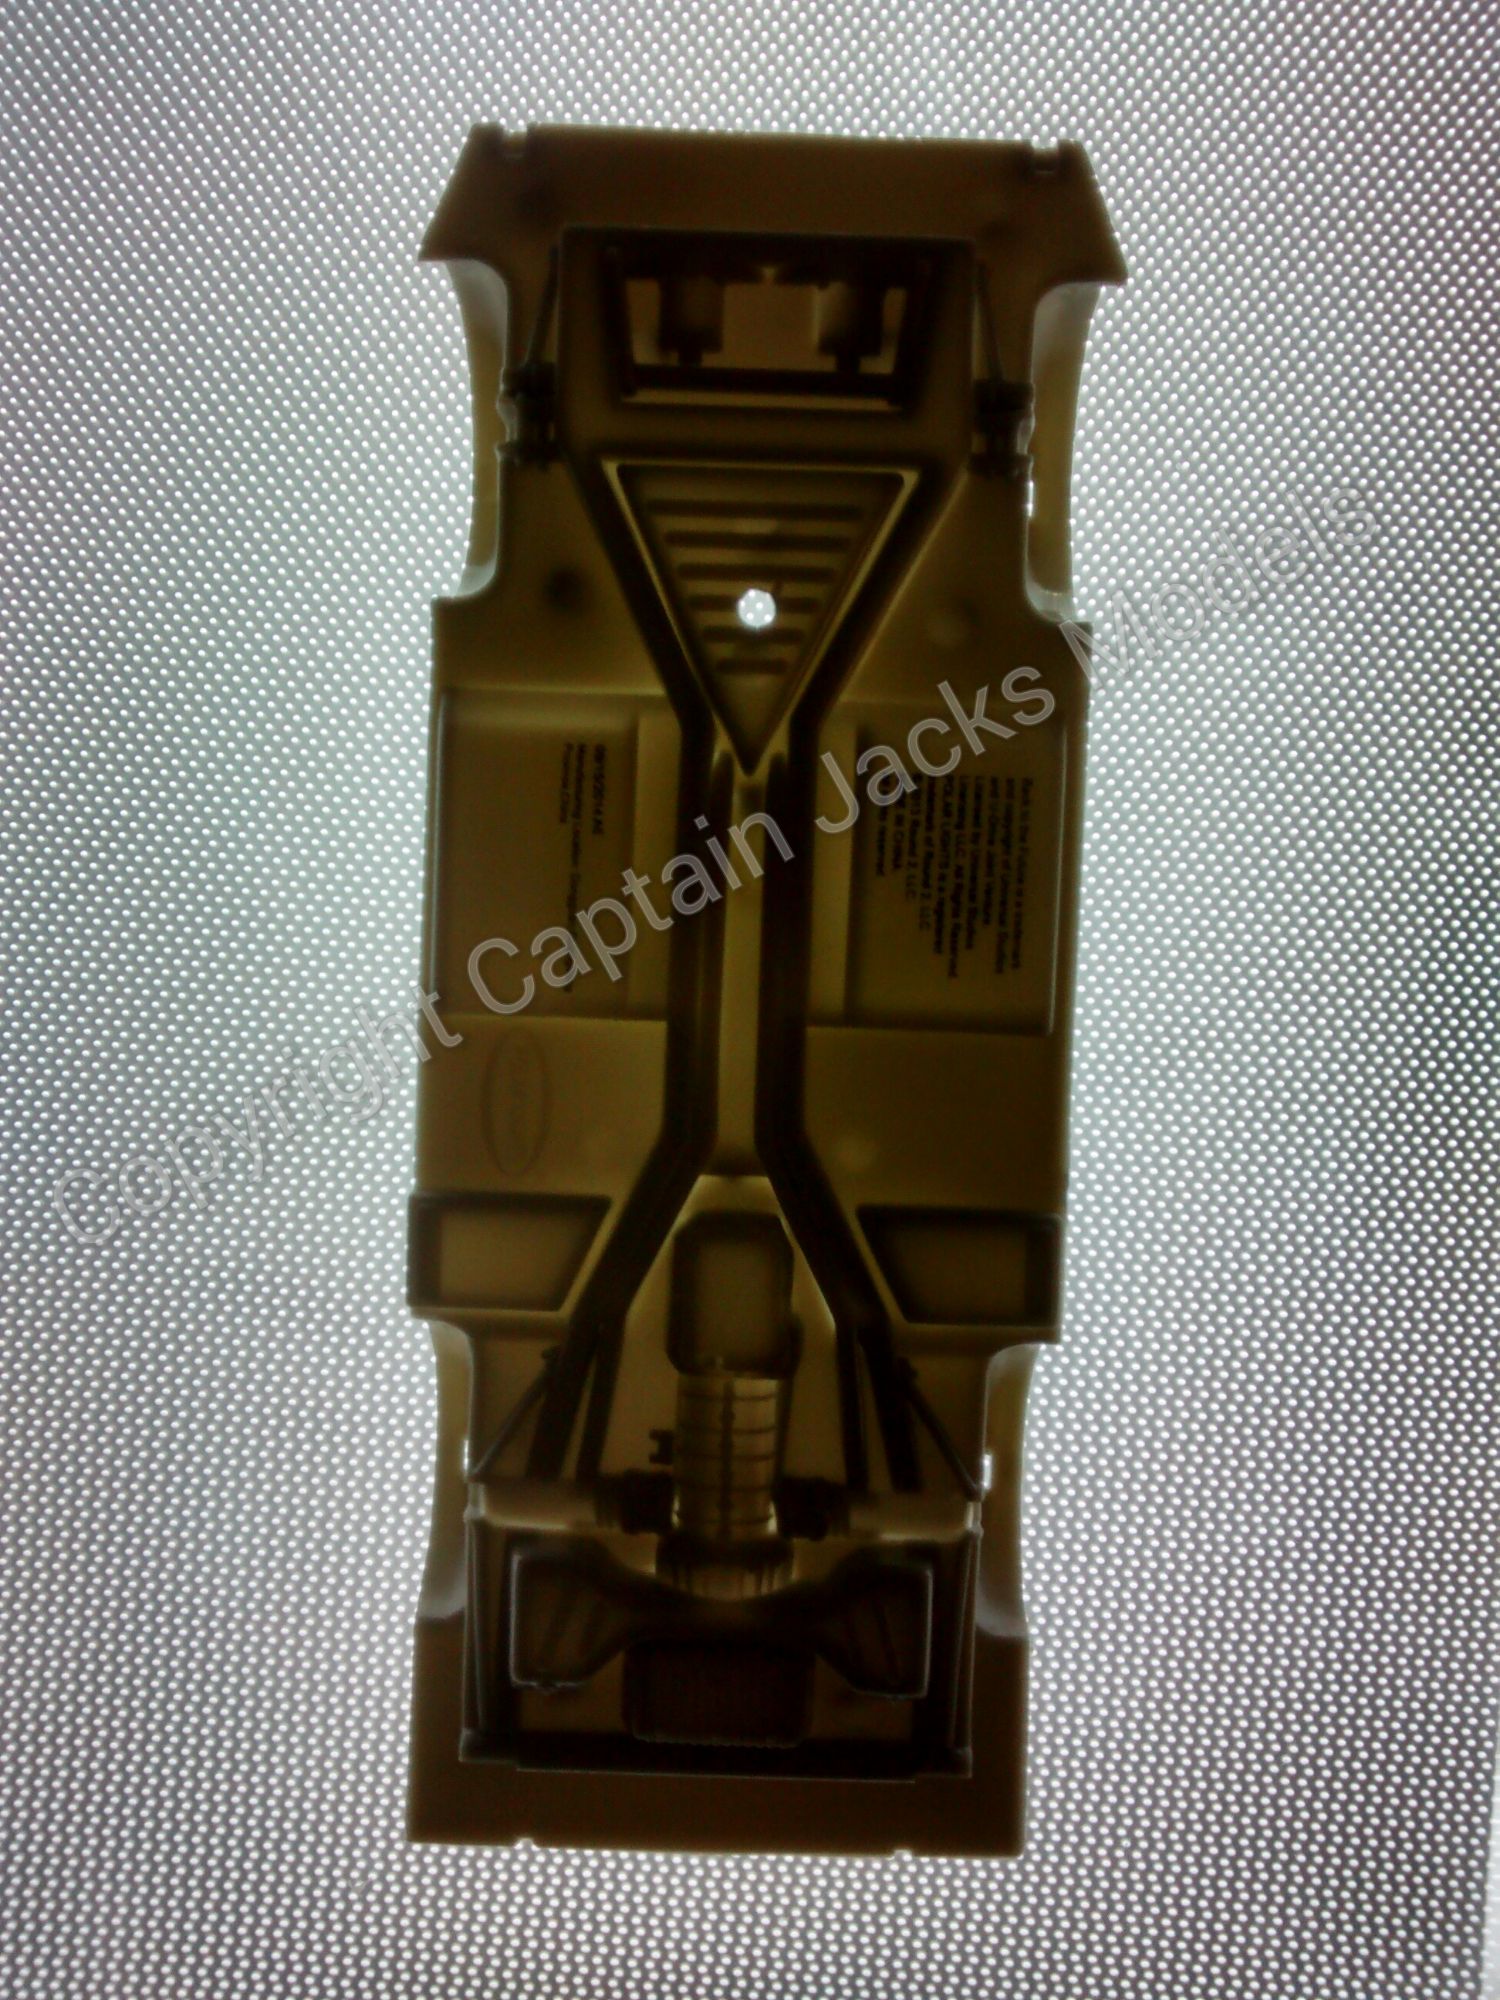
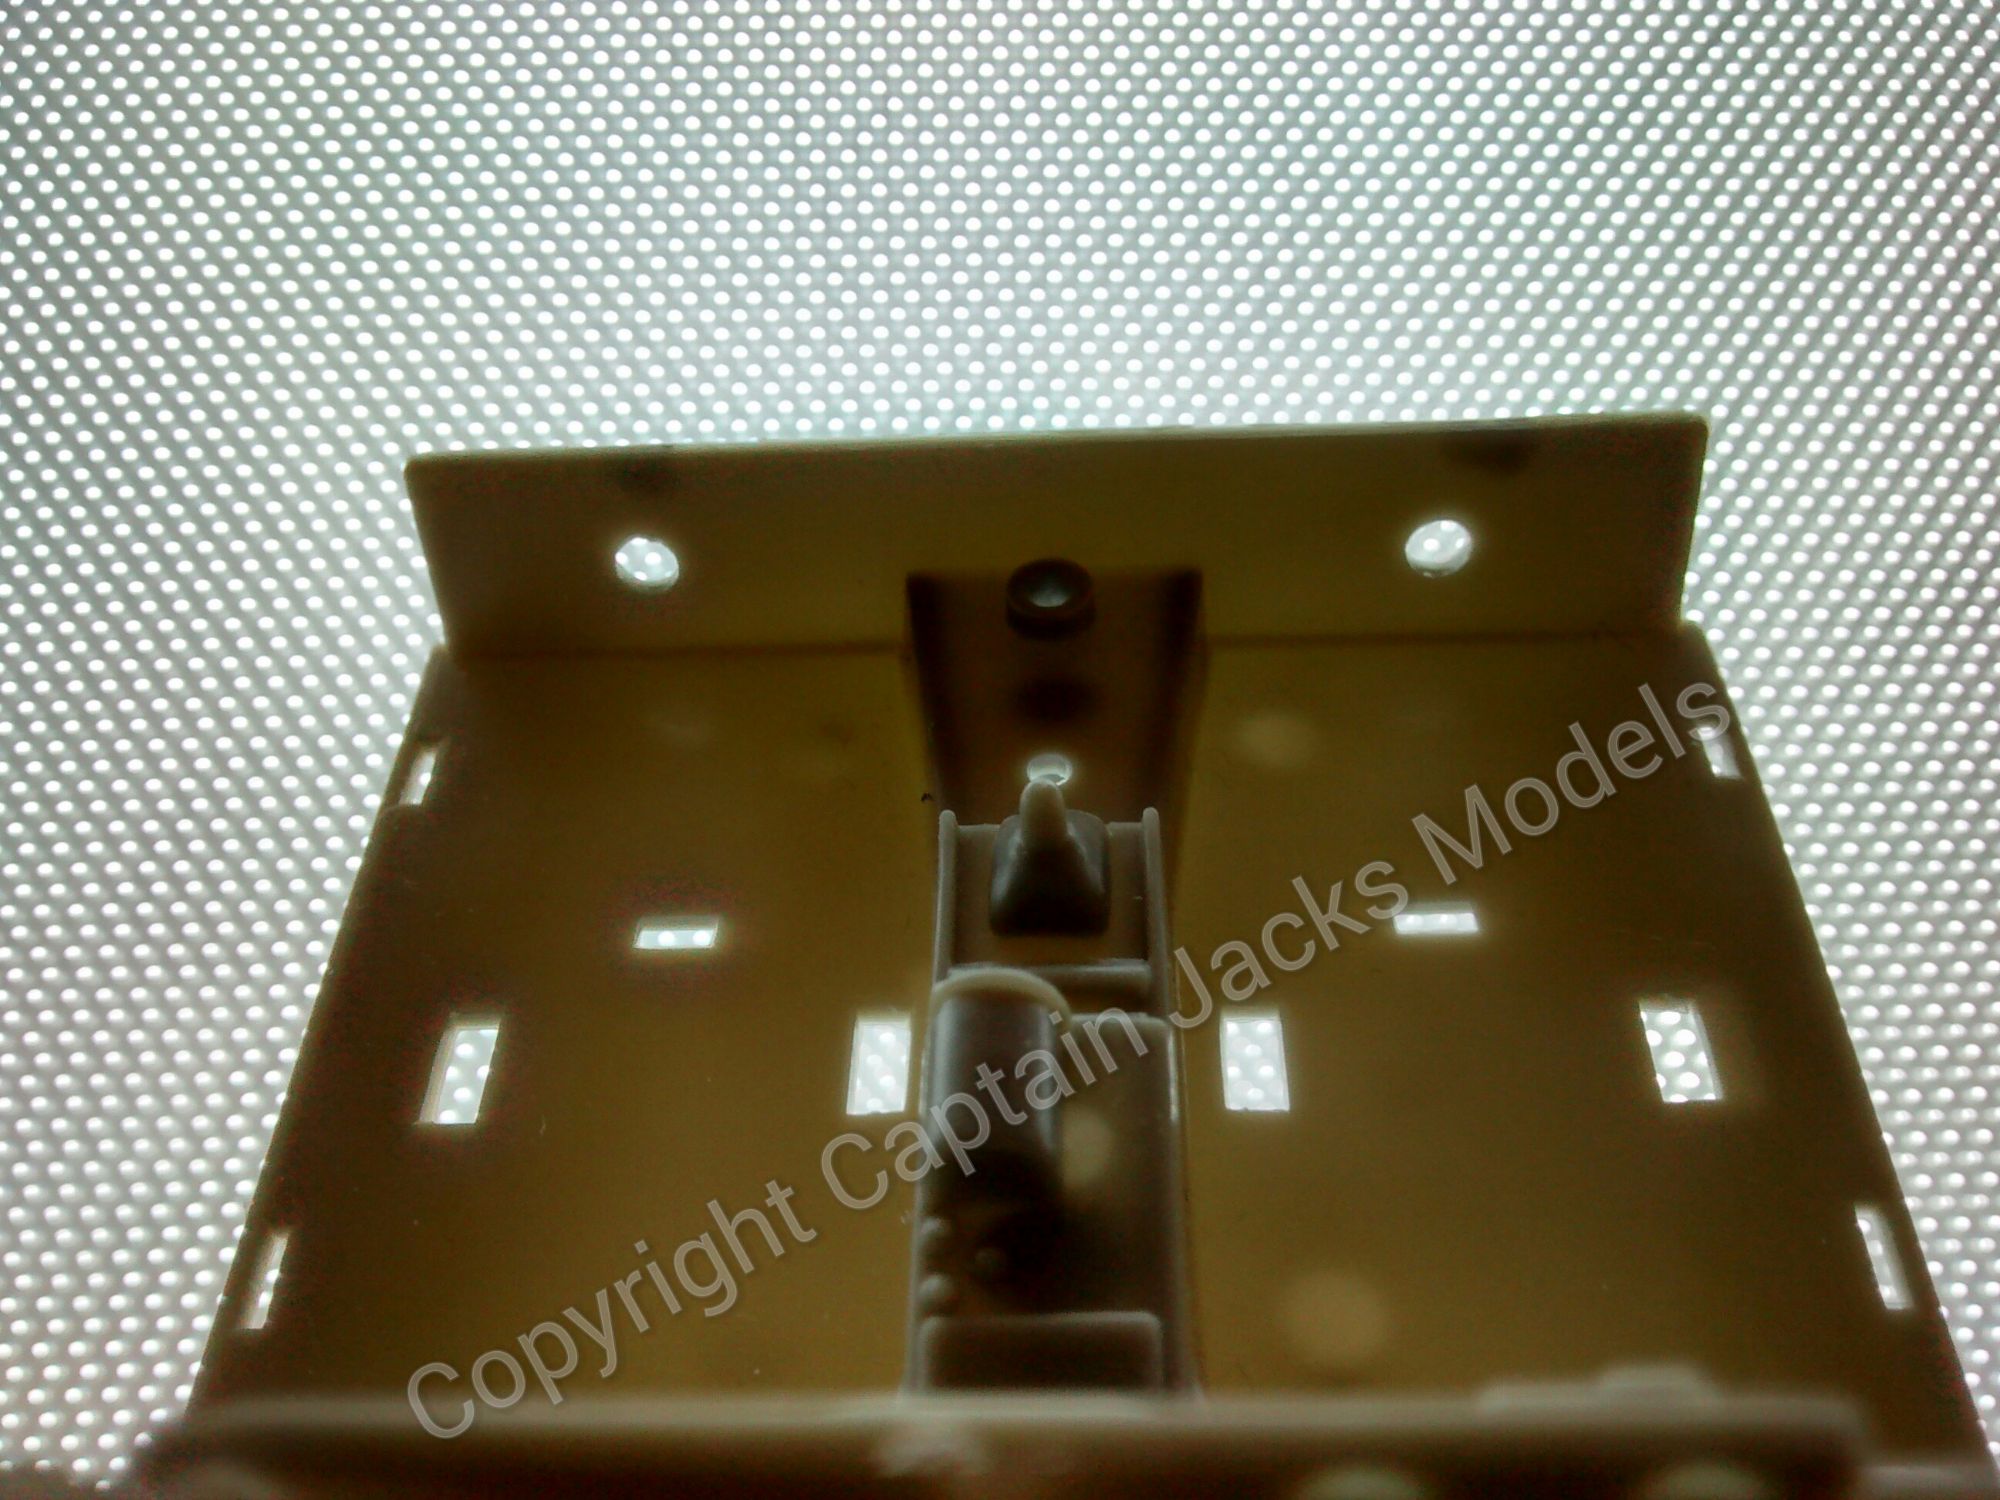
Consider how you'll be displaying the model, and where you think it will be best to run the power lead to the light kit so that it is hidden from view. I always fit mine to the front of the car, drilling a 3mm hole as shown in the apex section of the chassis.
Step 4
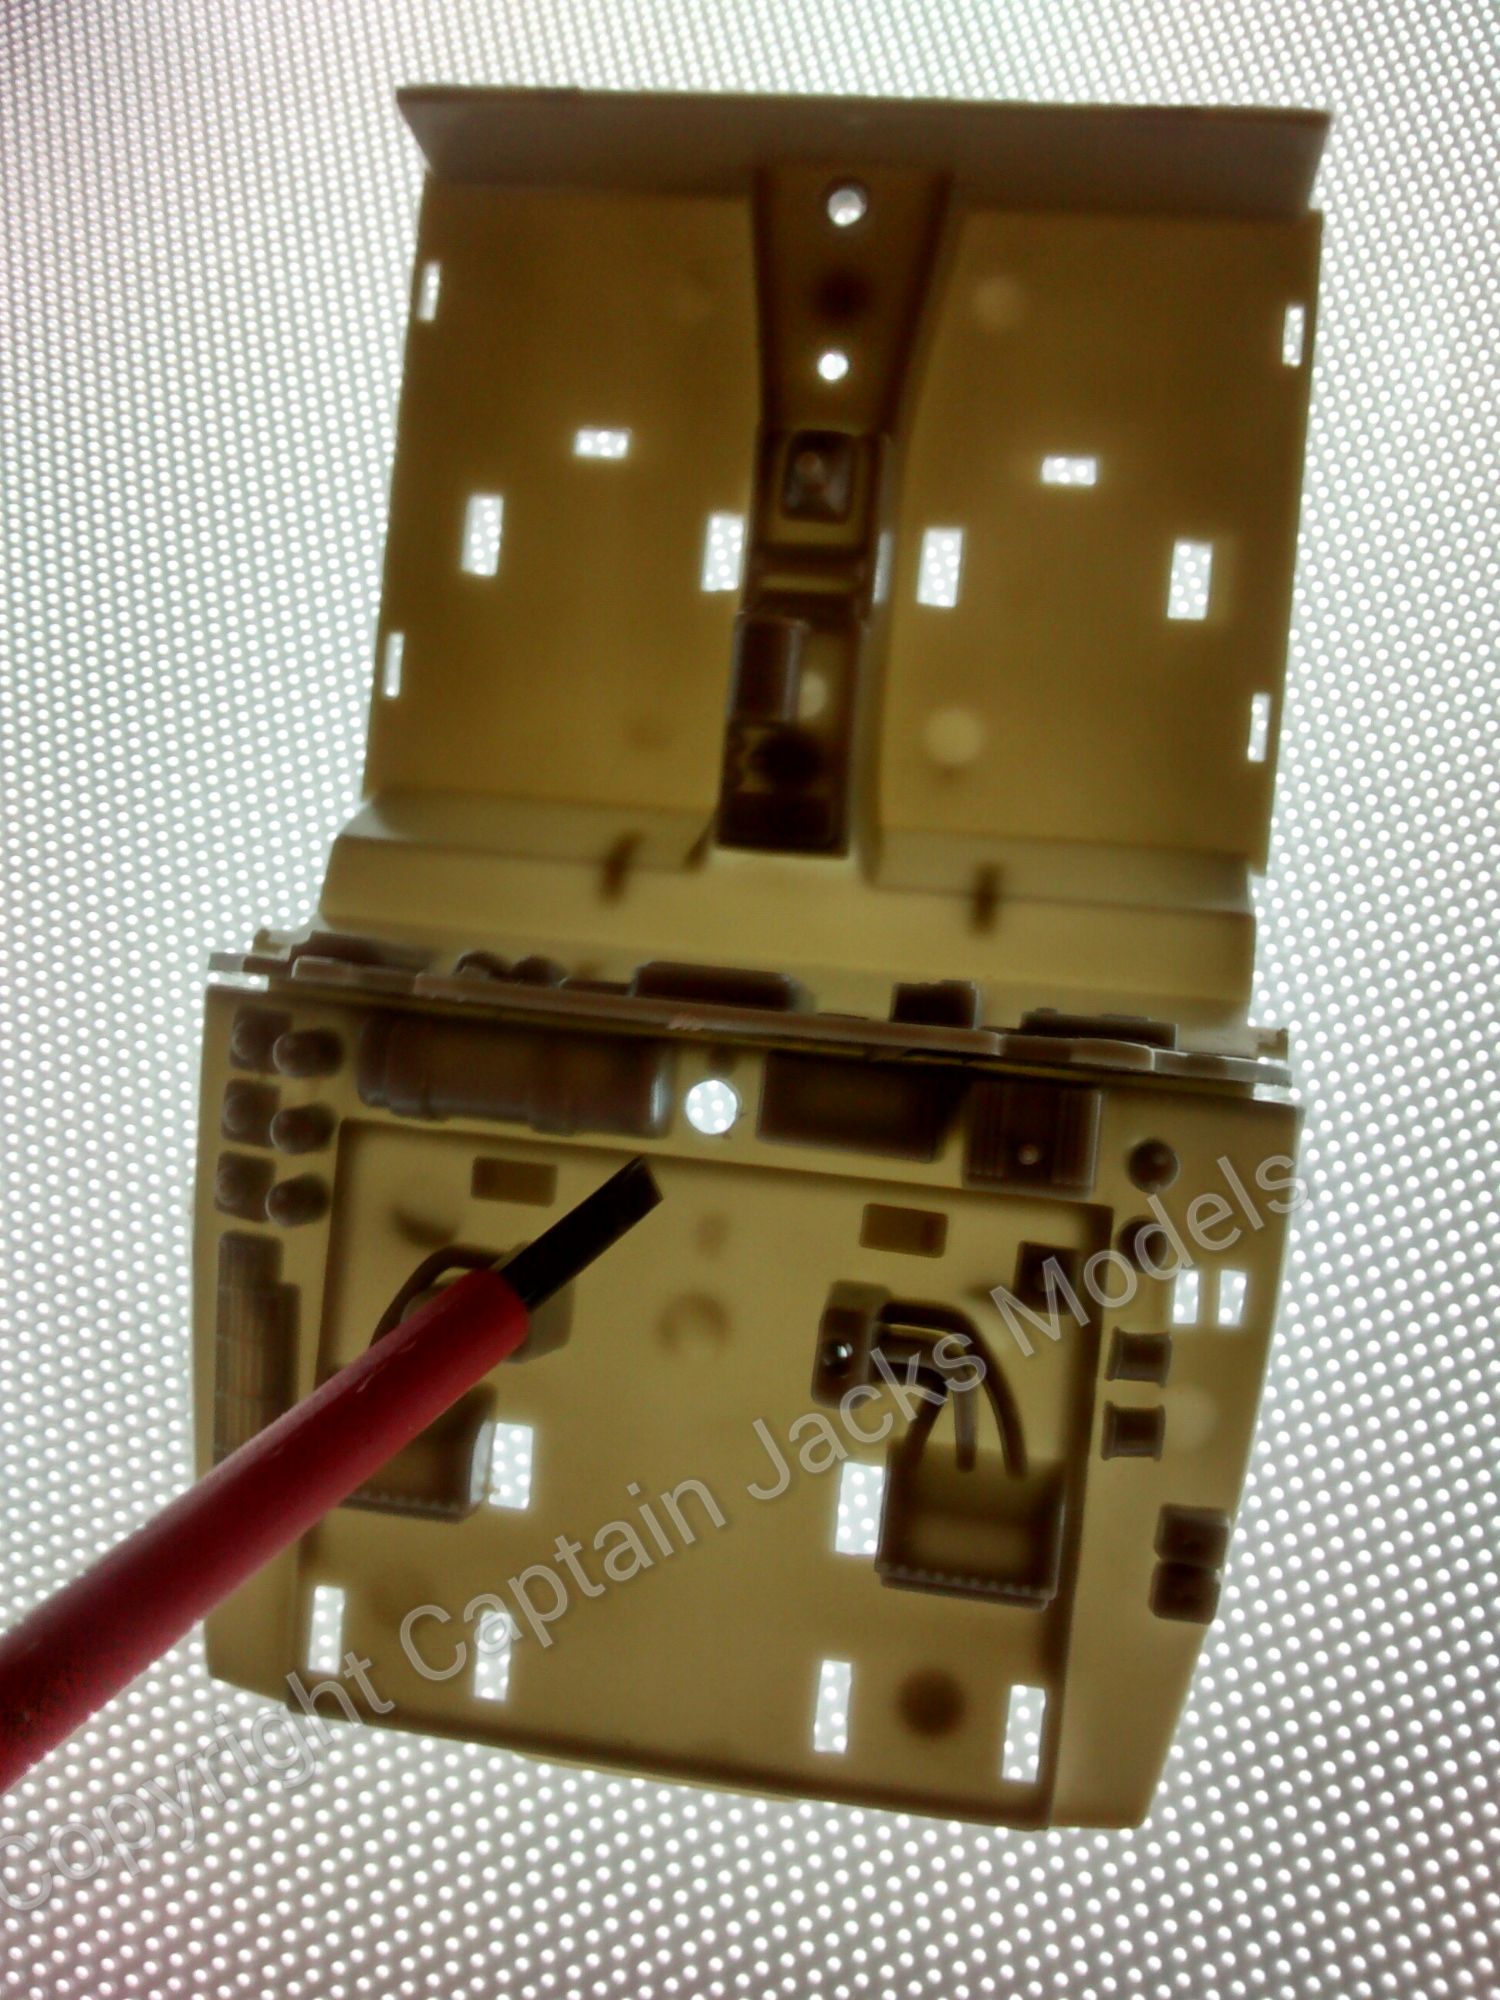
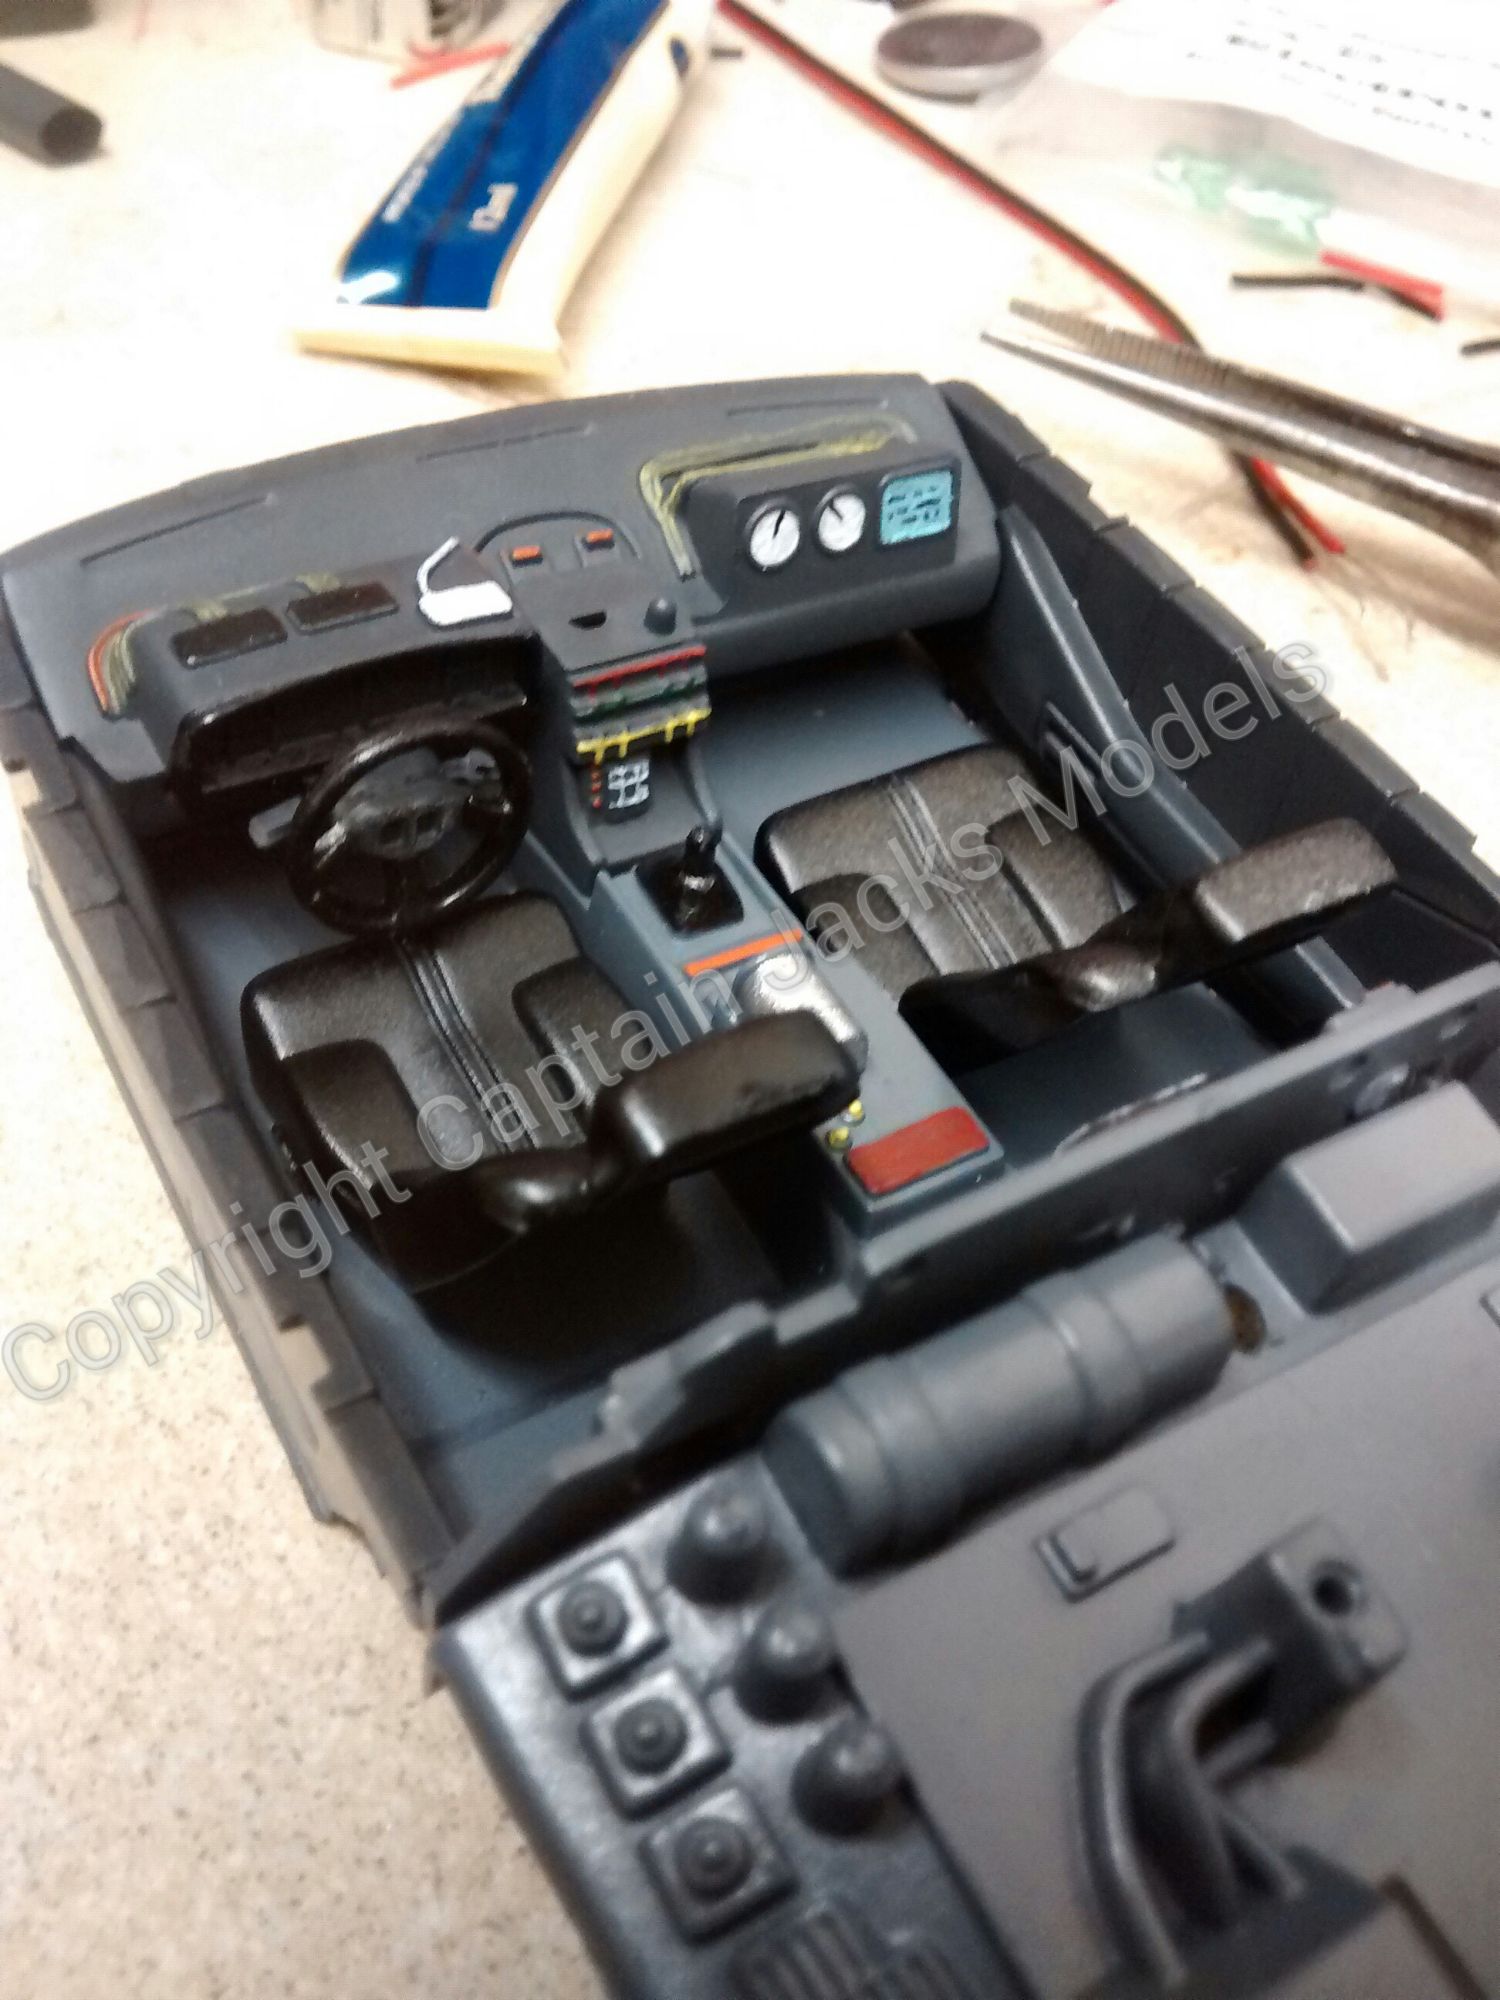
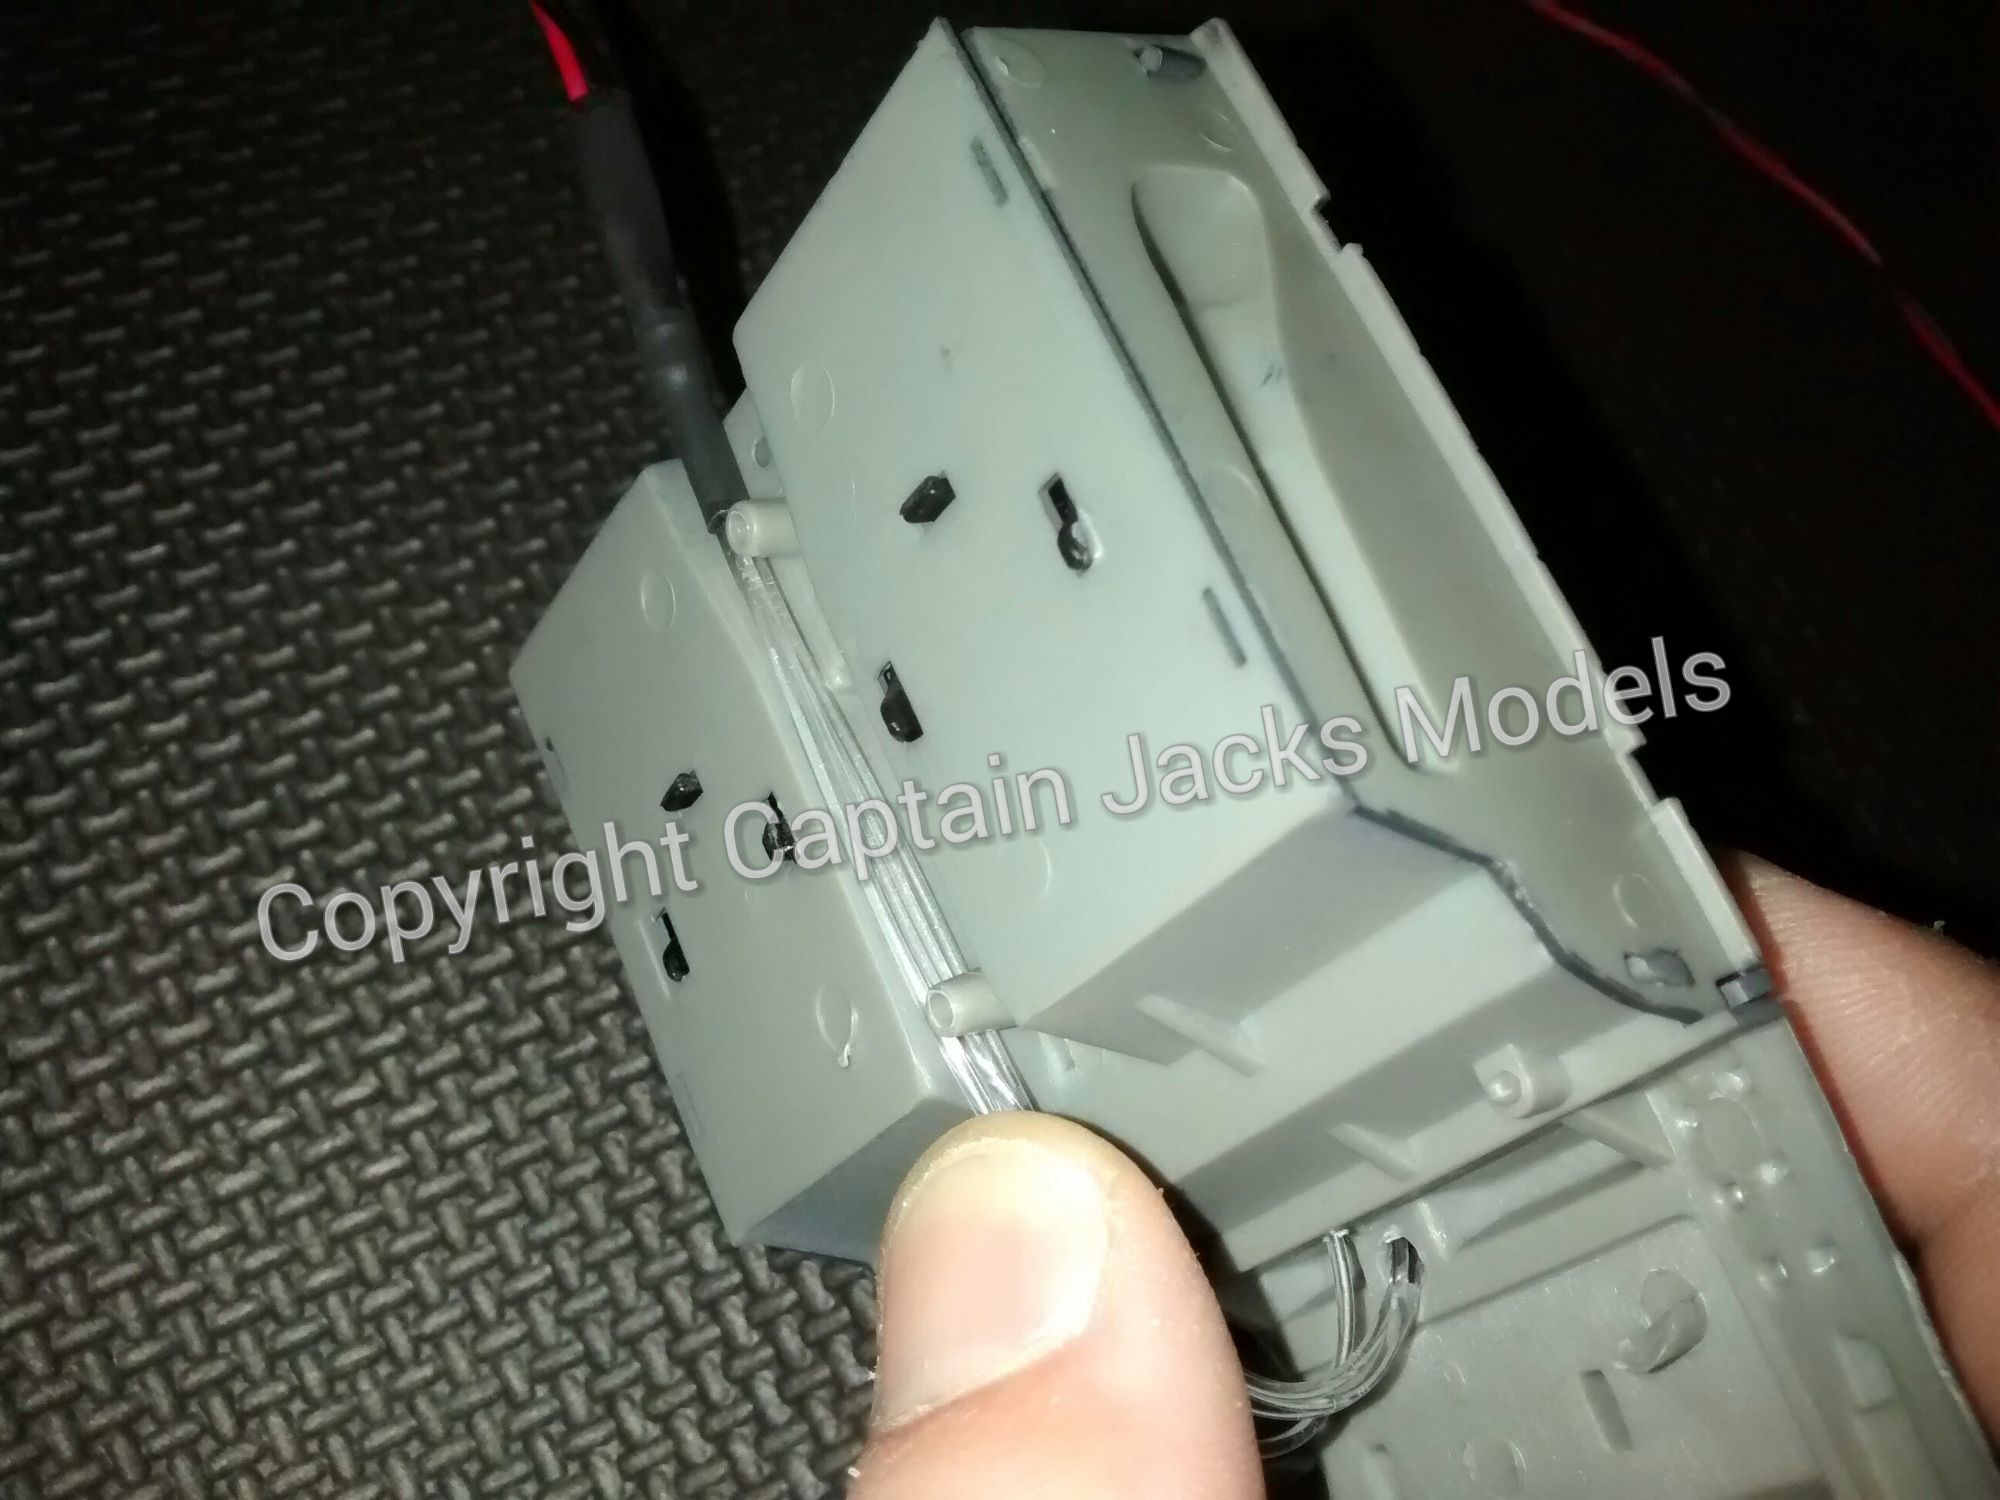
We now need to look at modifying the car interior. In order to do this, clip together the interior base and flux capacitor back-board as shown.
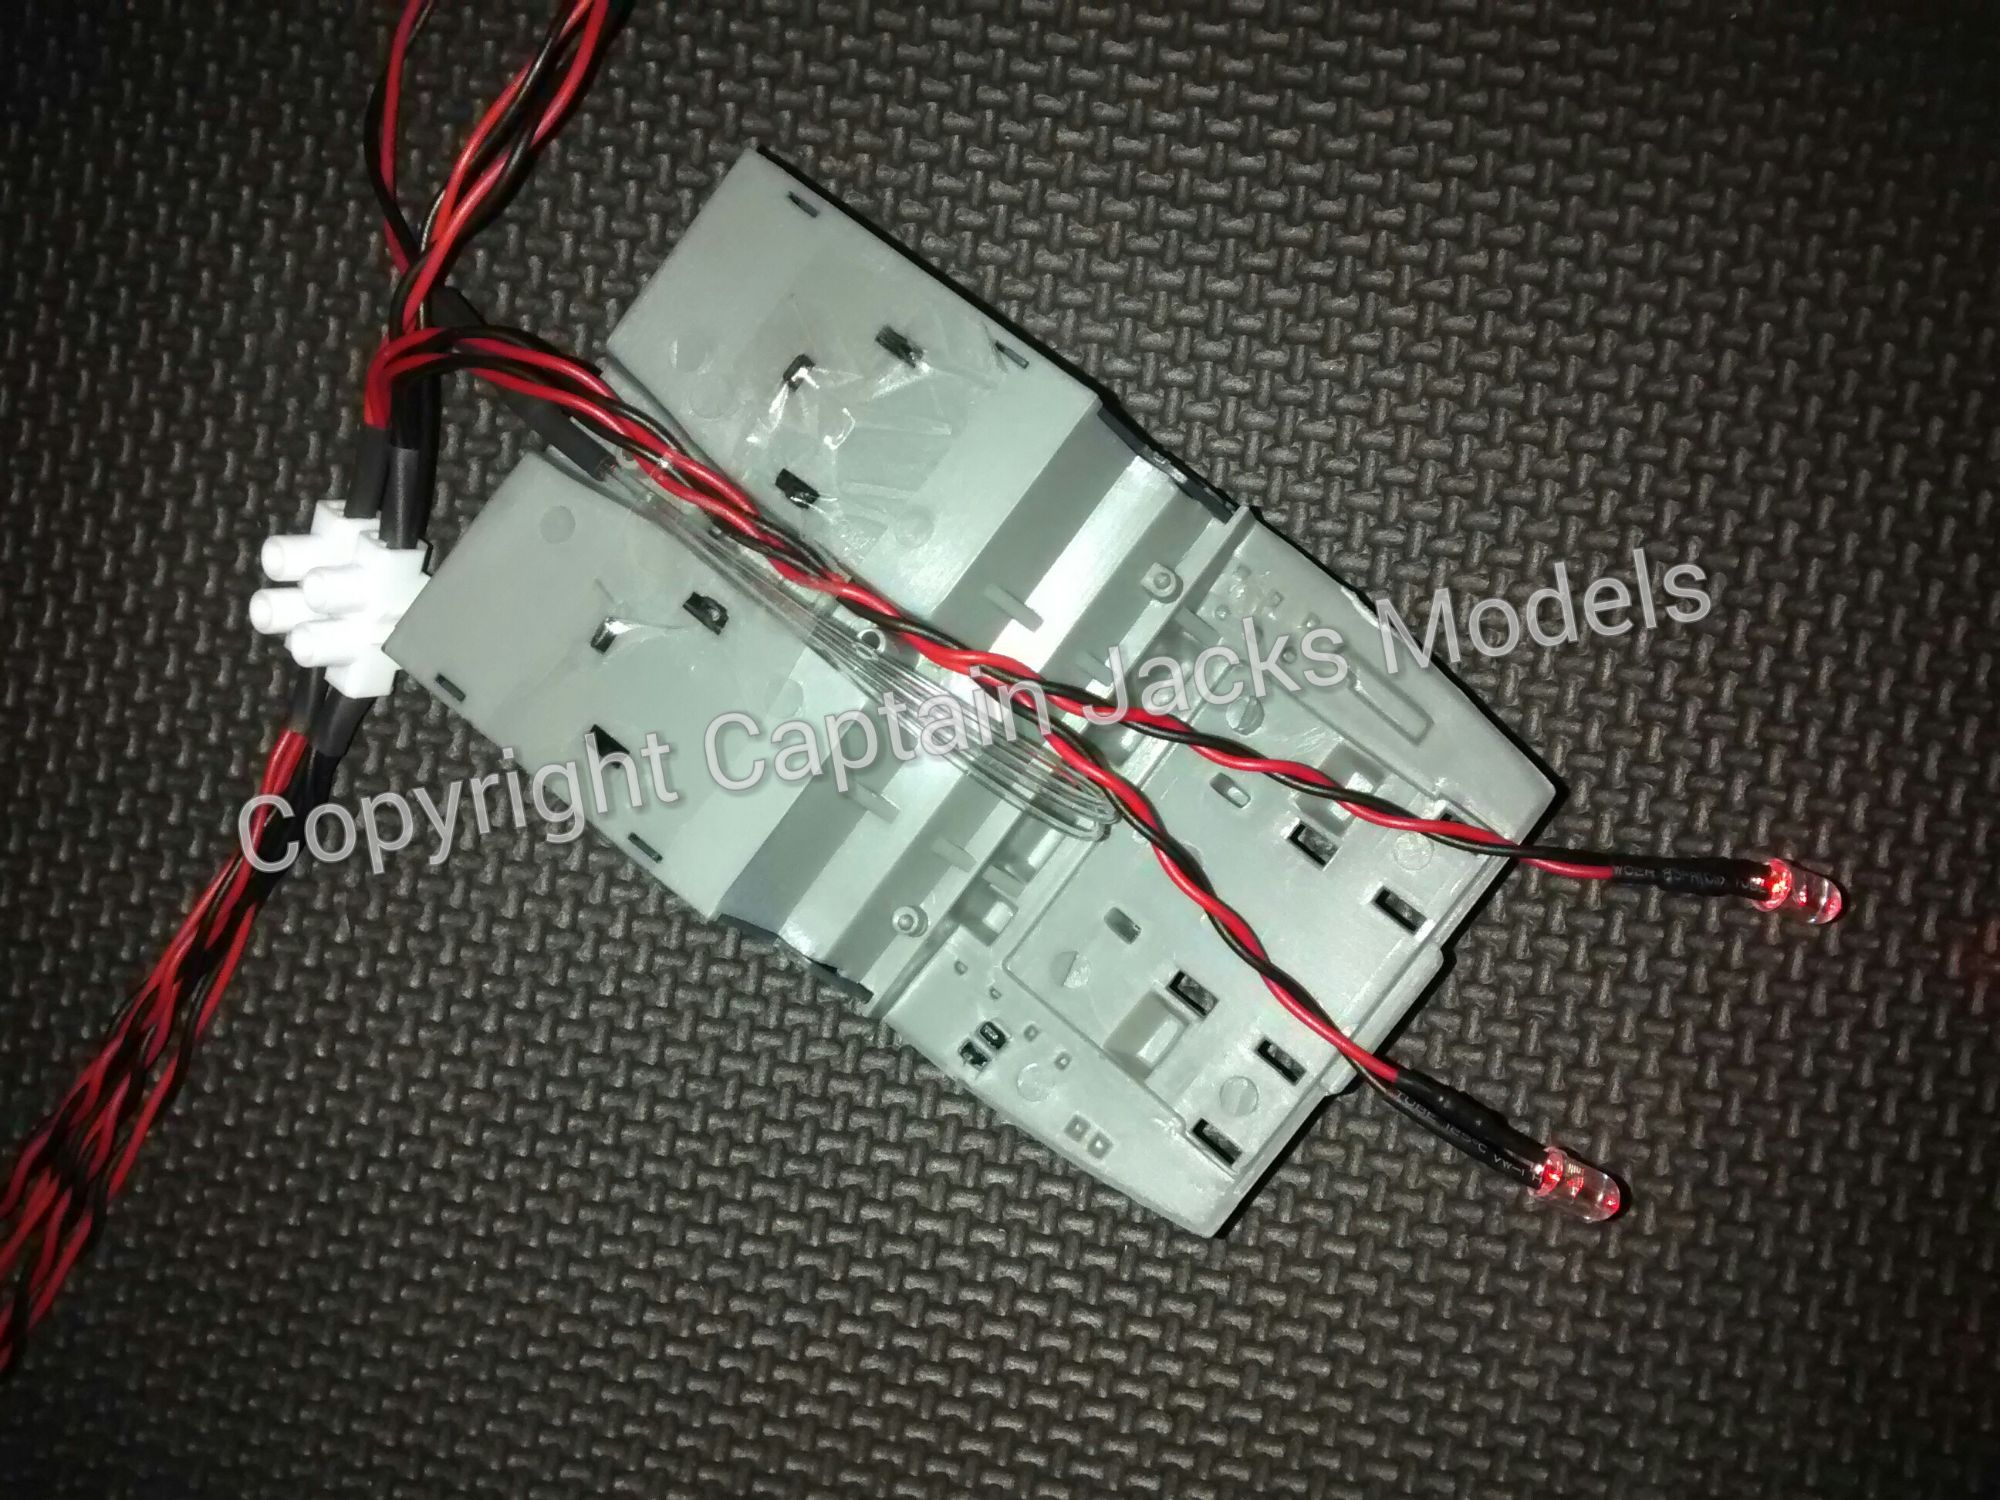
The first modification required are two 3mm drilled holes in front of the two seats, where the two UV up-lighters will be positioned.
Four fibre optic strands are used to illuminate the flux capacitor. With the car backing fitted to the interior, use a 1mm drill to create holes as shown on the flux capacitor. A single 3mm hole is then also needed behind this back-board as shown, to allow the fibre strands to be routed from underneath the car.

Step 5
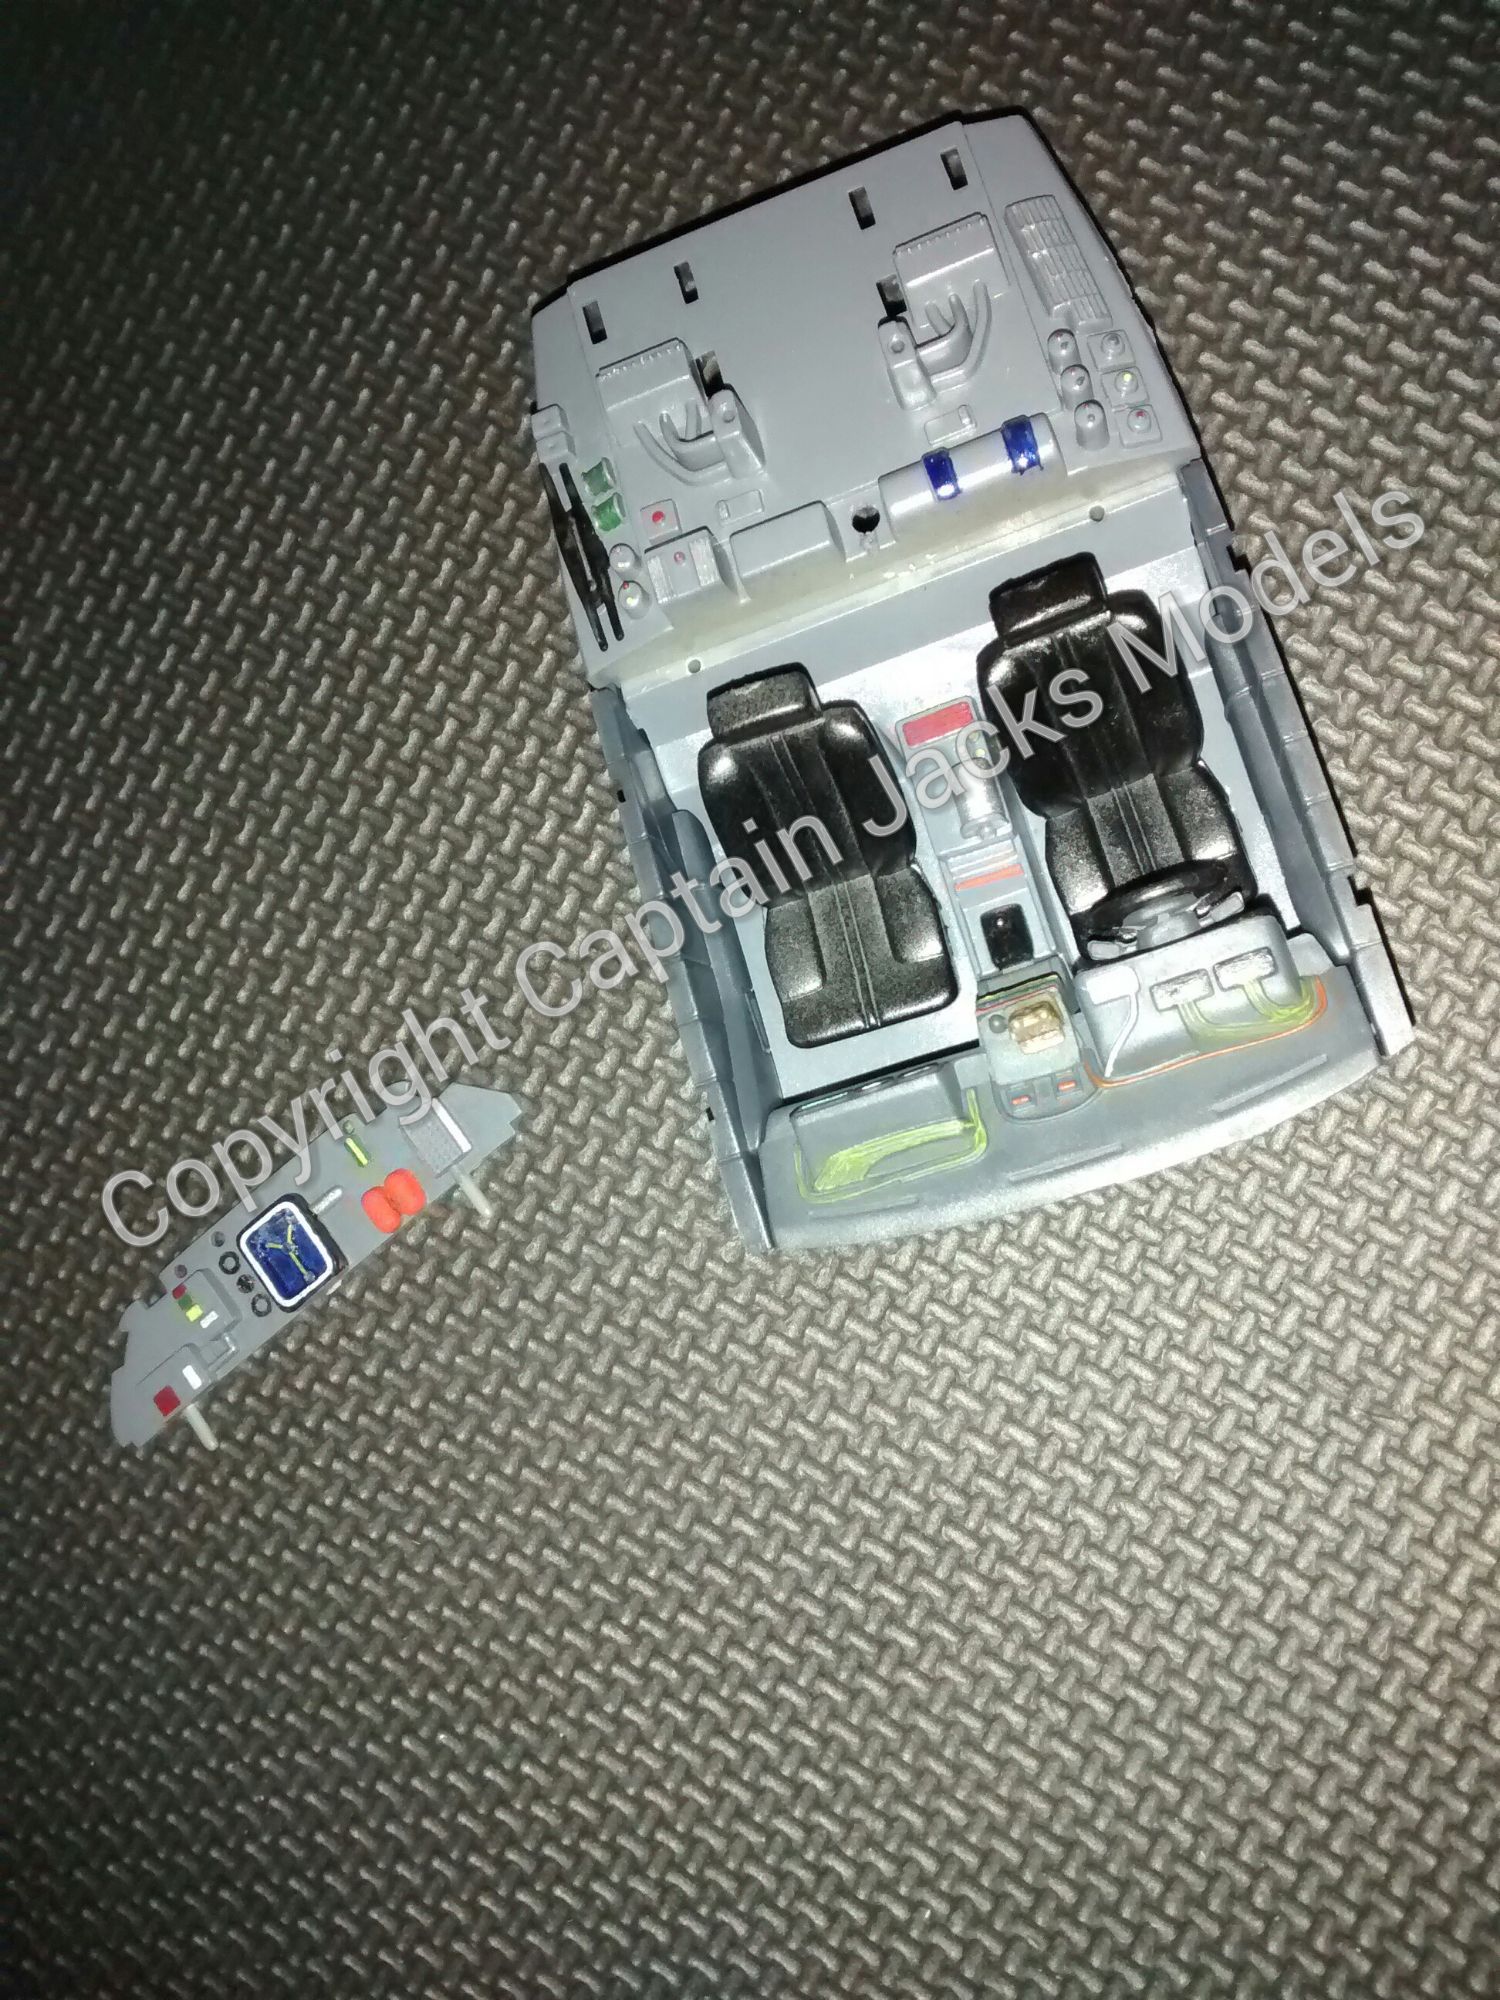
We now need to back-track a little, and remove the flux capacitor back-board from the car interior. Pusing the panel out from the underside pins makes this easy enough to do.
Step 6
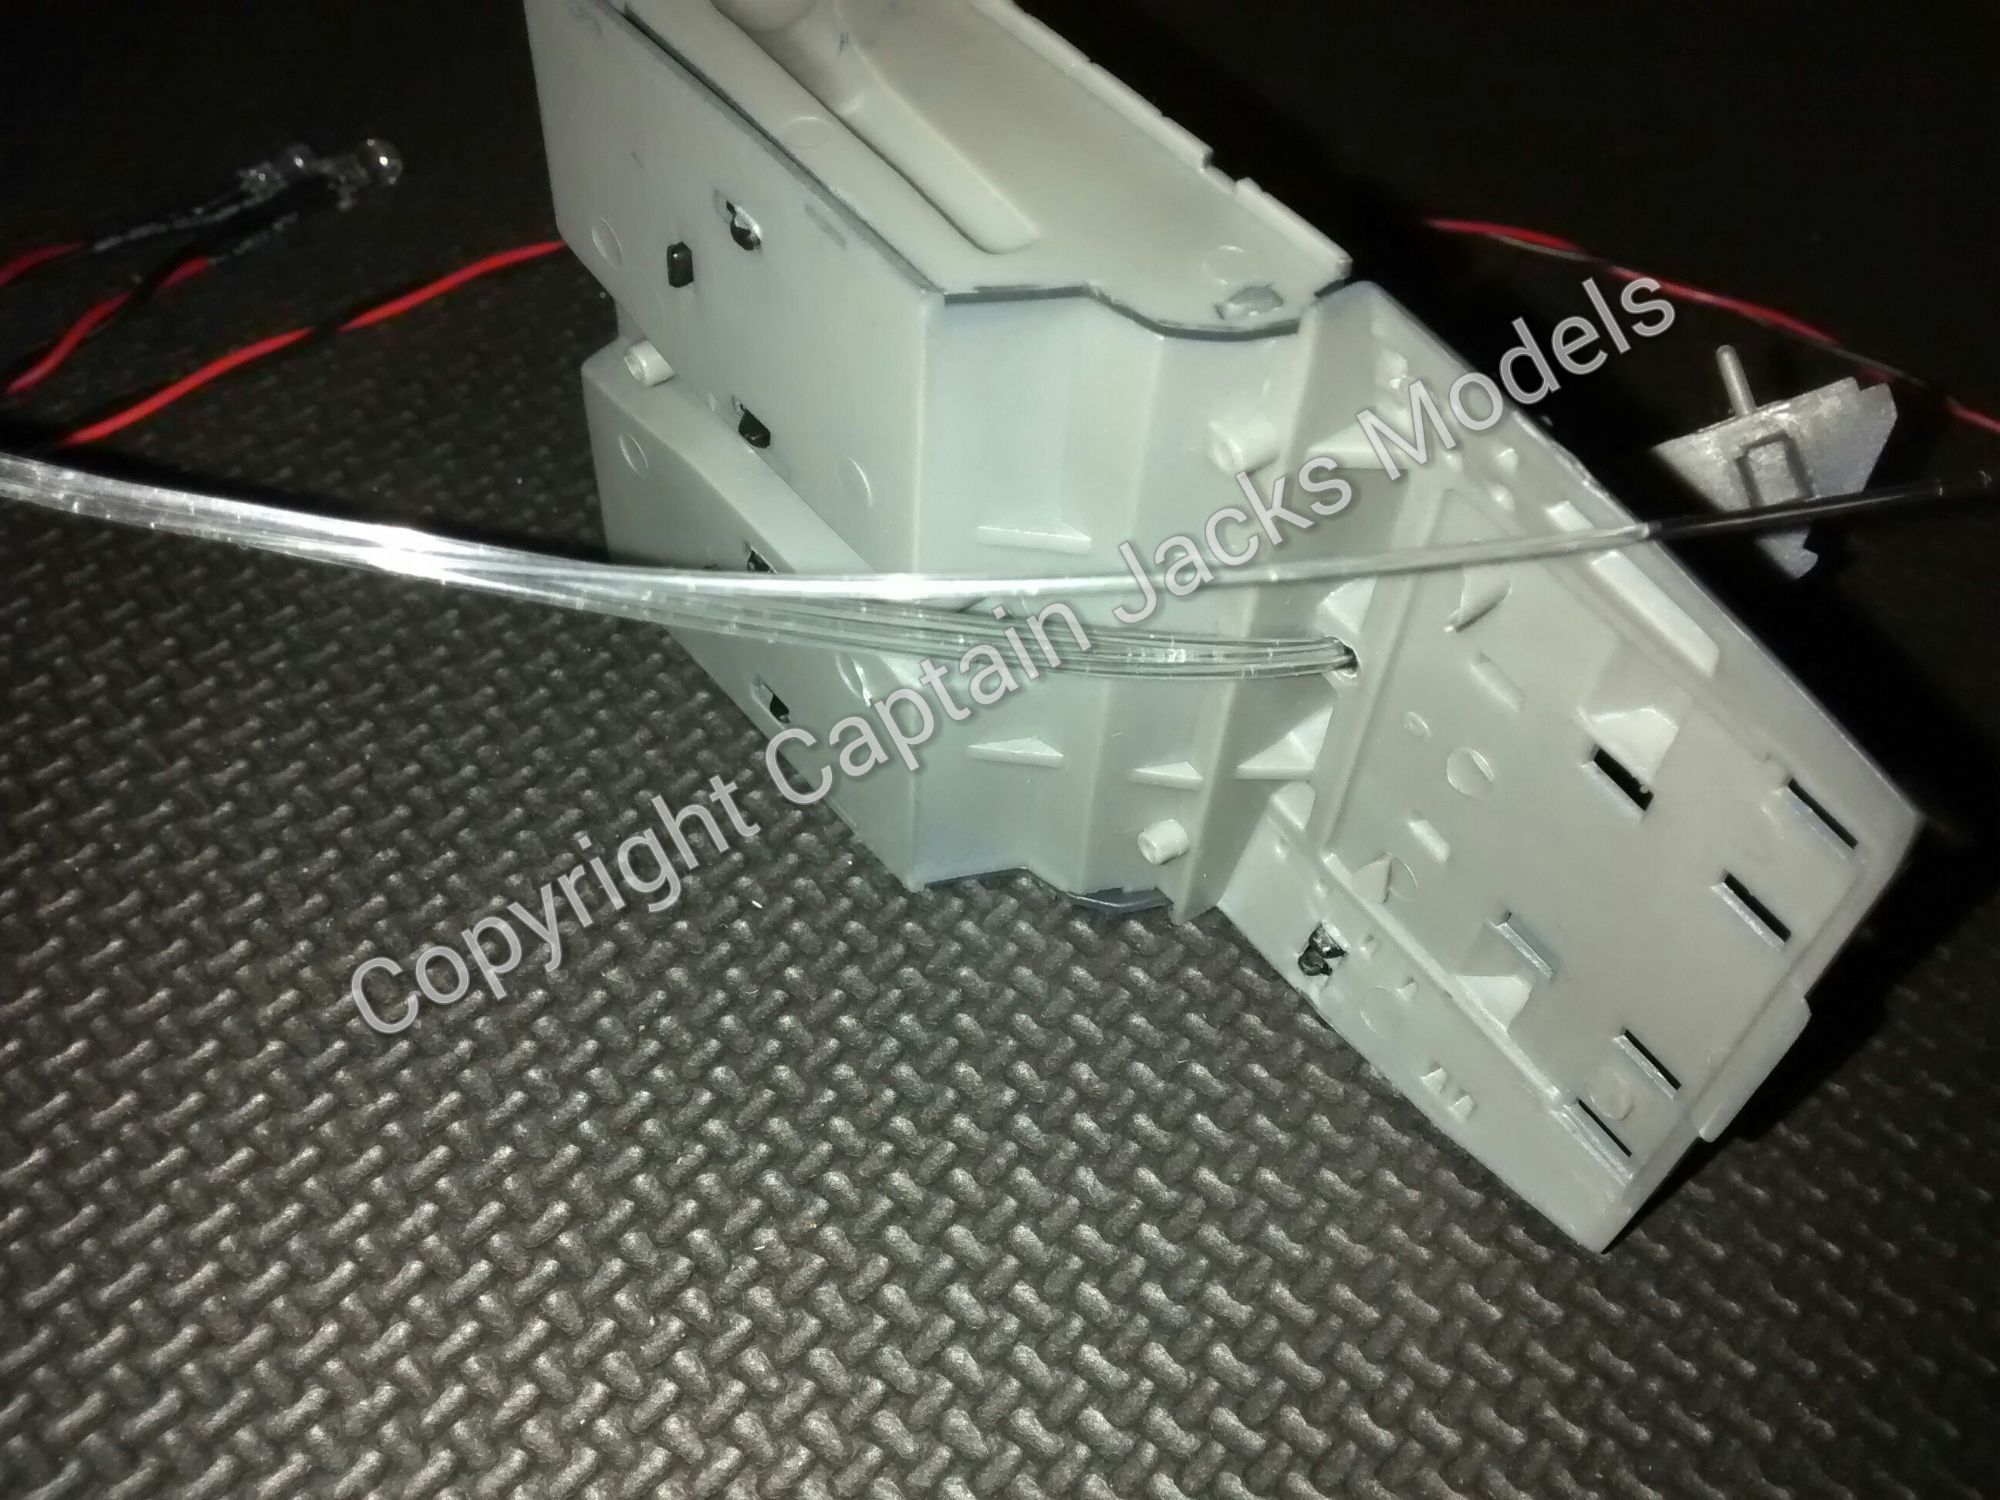
The fibre optics should now be put into place. To do this, feed THREE fibres through the 3mm hole that you drilled in the rear of the car earlier. Push these three fibres through the TOP THREE HOLES on the flux capacitor itself, pulling them around half way through as per the photo.
Step 7
Re-fit the flux capacitor back-board to the car interior, gently allow the fibres to curve around. Fit the remaining fourth fibre through the flux capacitor, again pulling it around half way through.
Step 8
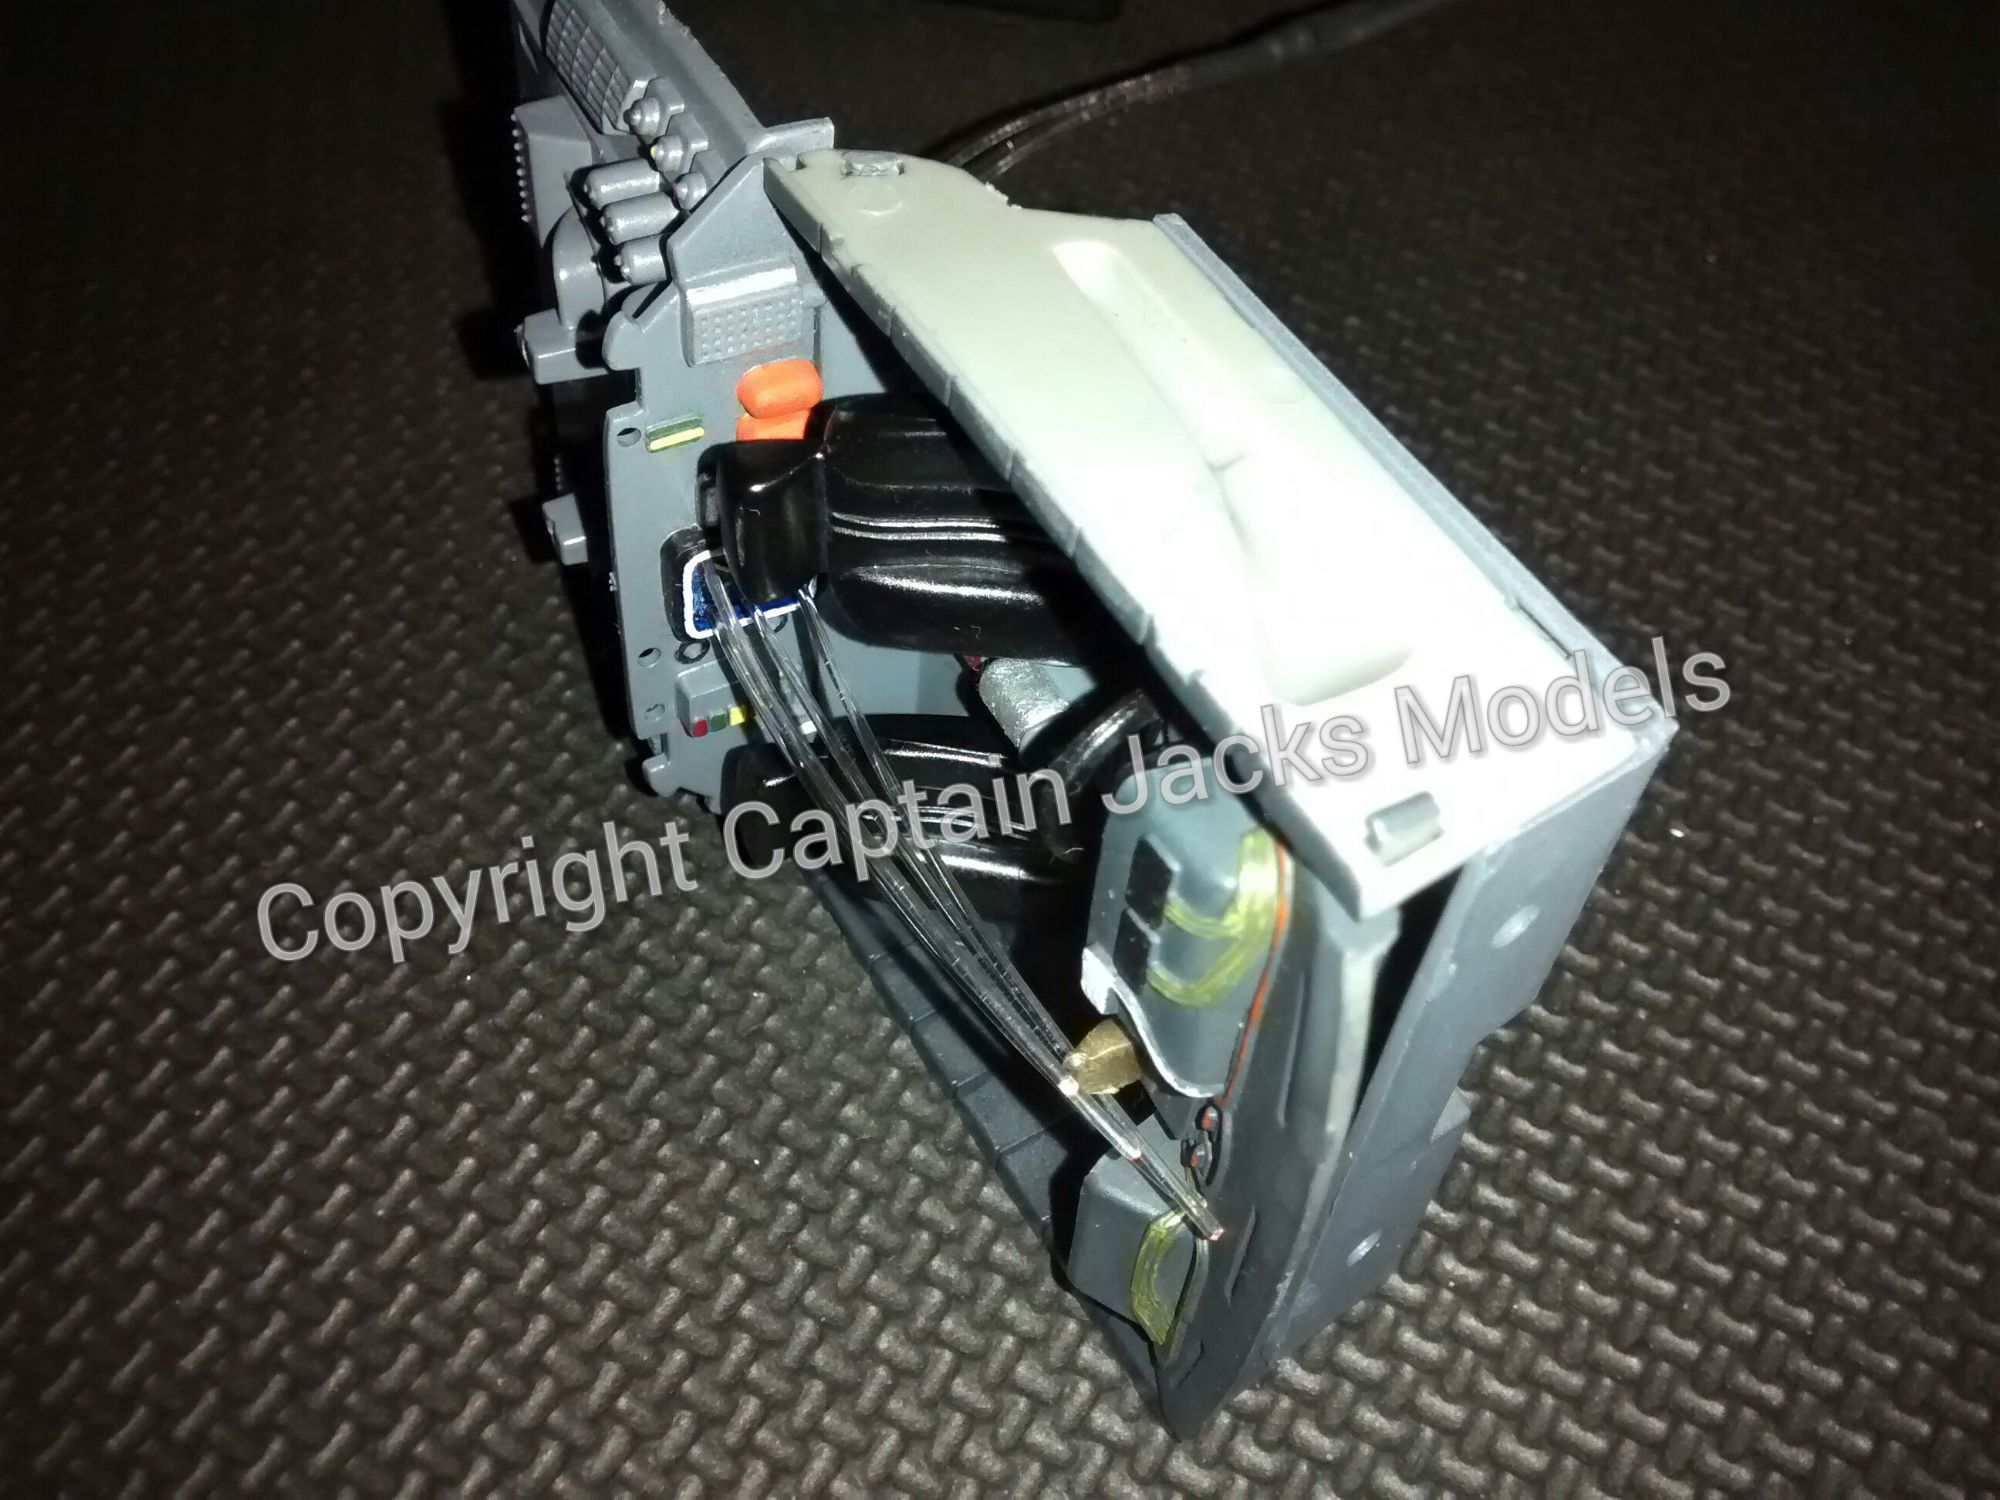
Carefully bend the fibres around, and position the fibre unit as shown.
Step 9
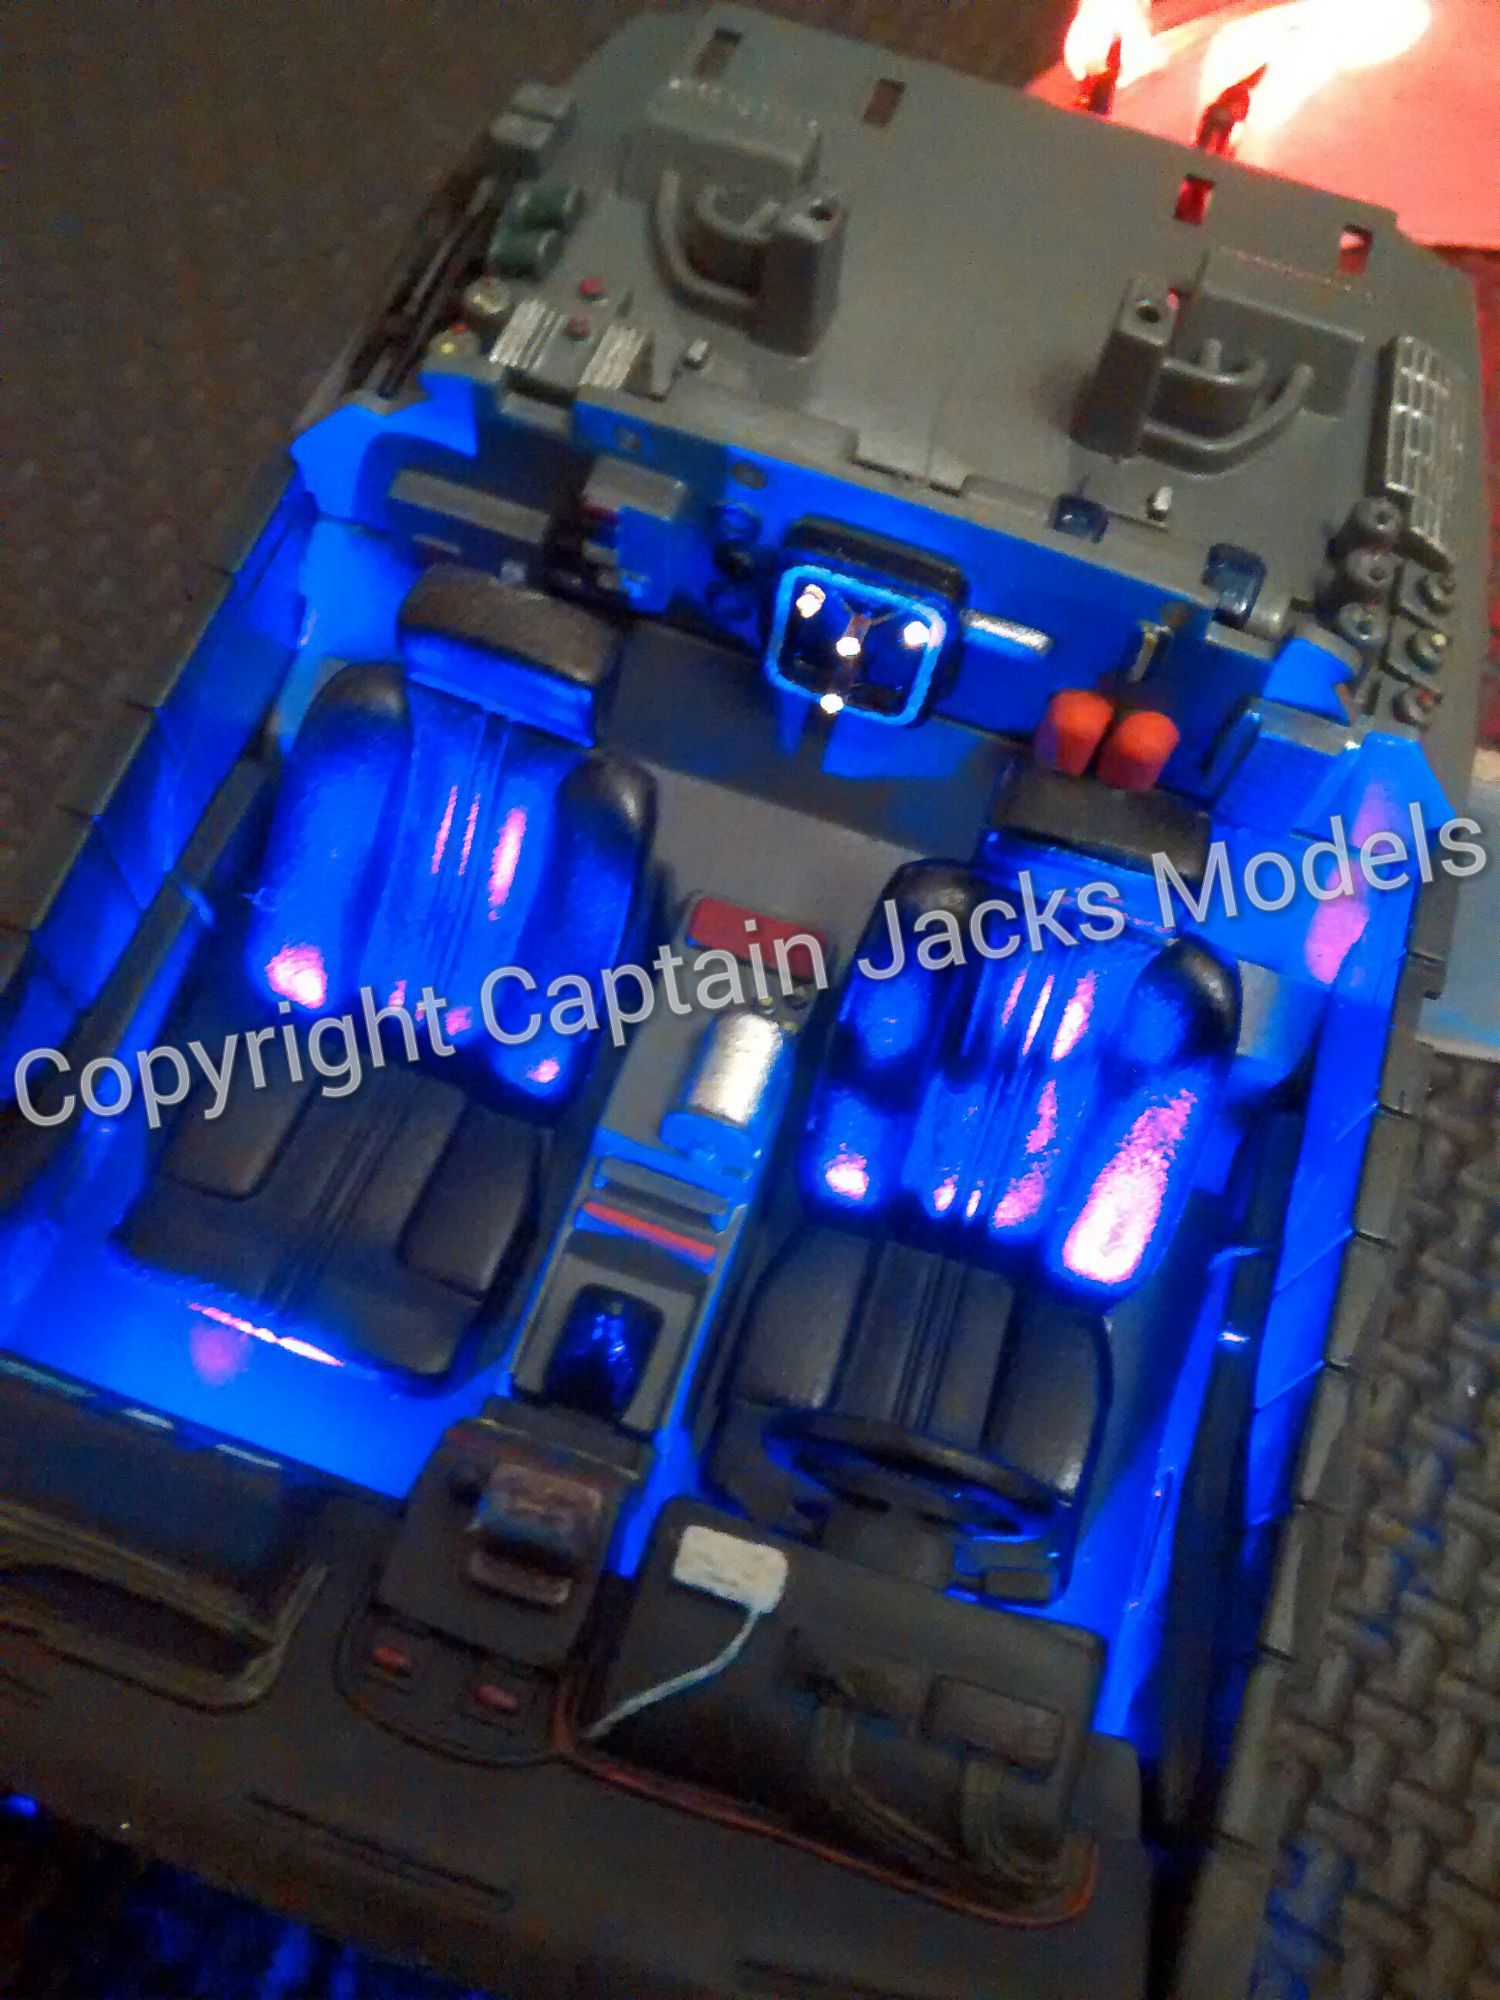
Place the wires to the two red leds on the opposite side of the central section again as shown. Use some sticky tape to hold both the fibres and led wires in place. When you are fully happy with the wire and fibre positions, super-glue them in place in the central section. Also put a small drop of glue on the unseen back part of the flux capacitor, securing each fibre strand.
Step 10
Insert the two ultra-violet up-lighters in the front of the foot well areas. ALLOW ALL GLUED PARTS TO DRY FULLY BEFORE CONTINUING.

Step 11
Ideally using flush cutters, snip the fibre strands so that they are level with the outer section of the flux capacitor. Test the lights to ensure the fibres are cleanly cut.

Step 12
Fit the reactor / lightning rod mount to the centre of the rear section.

Step 13
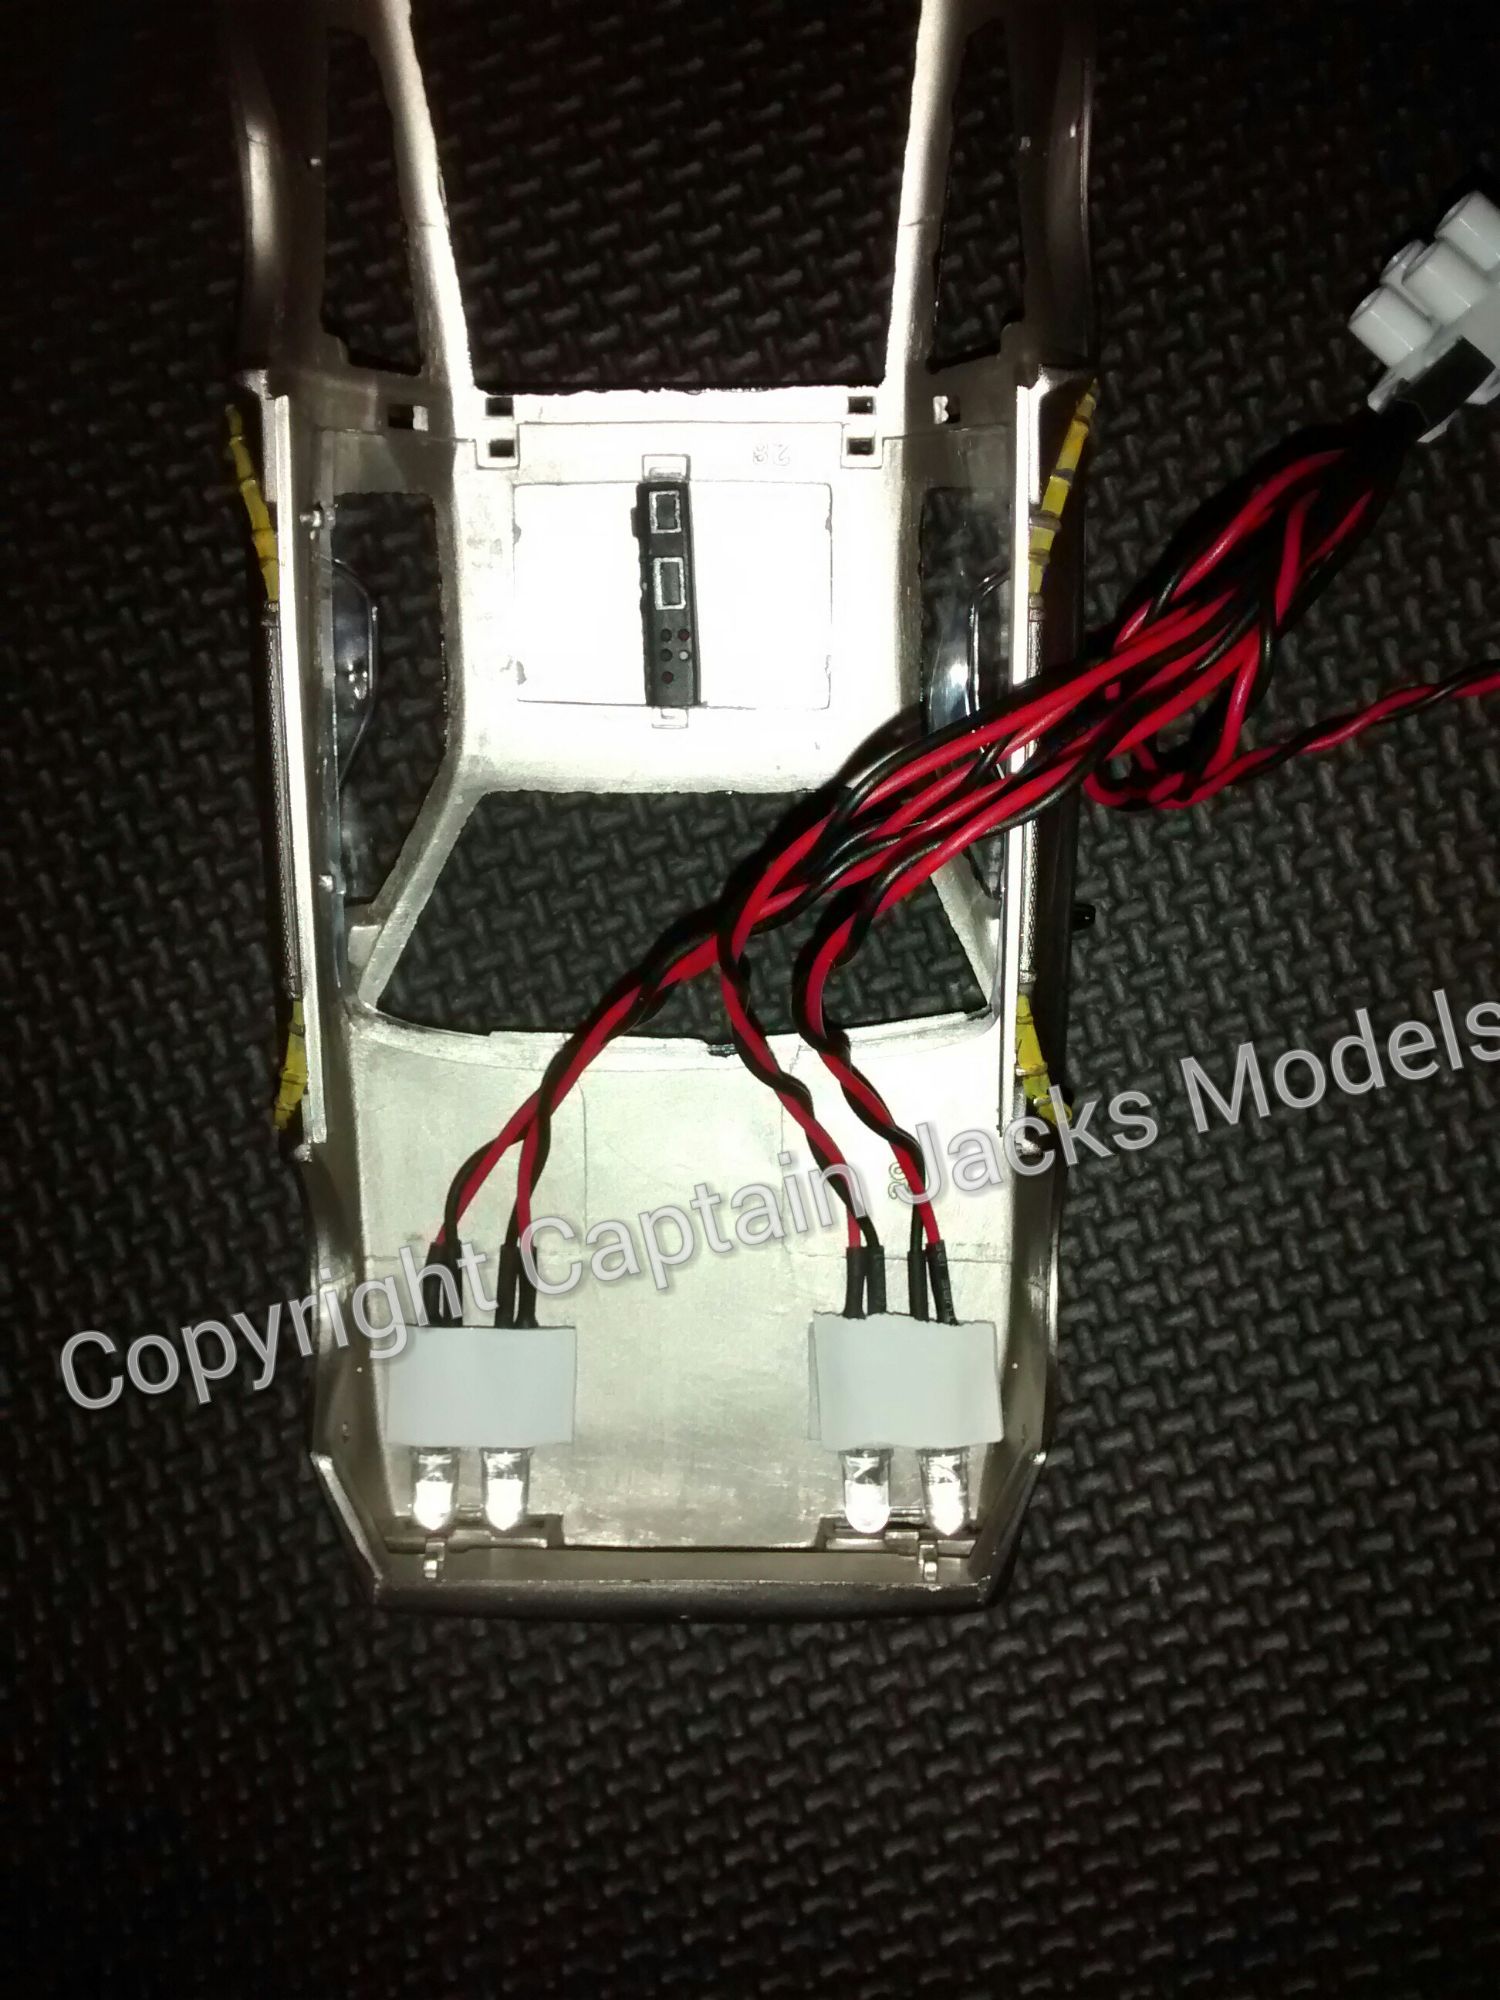
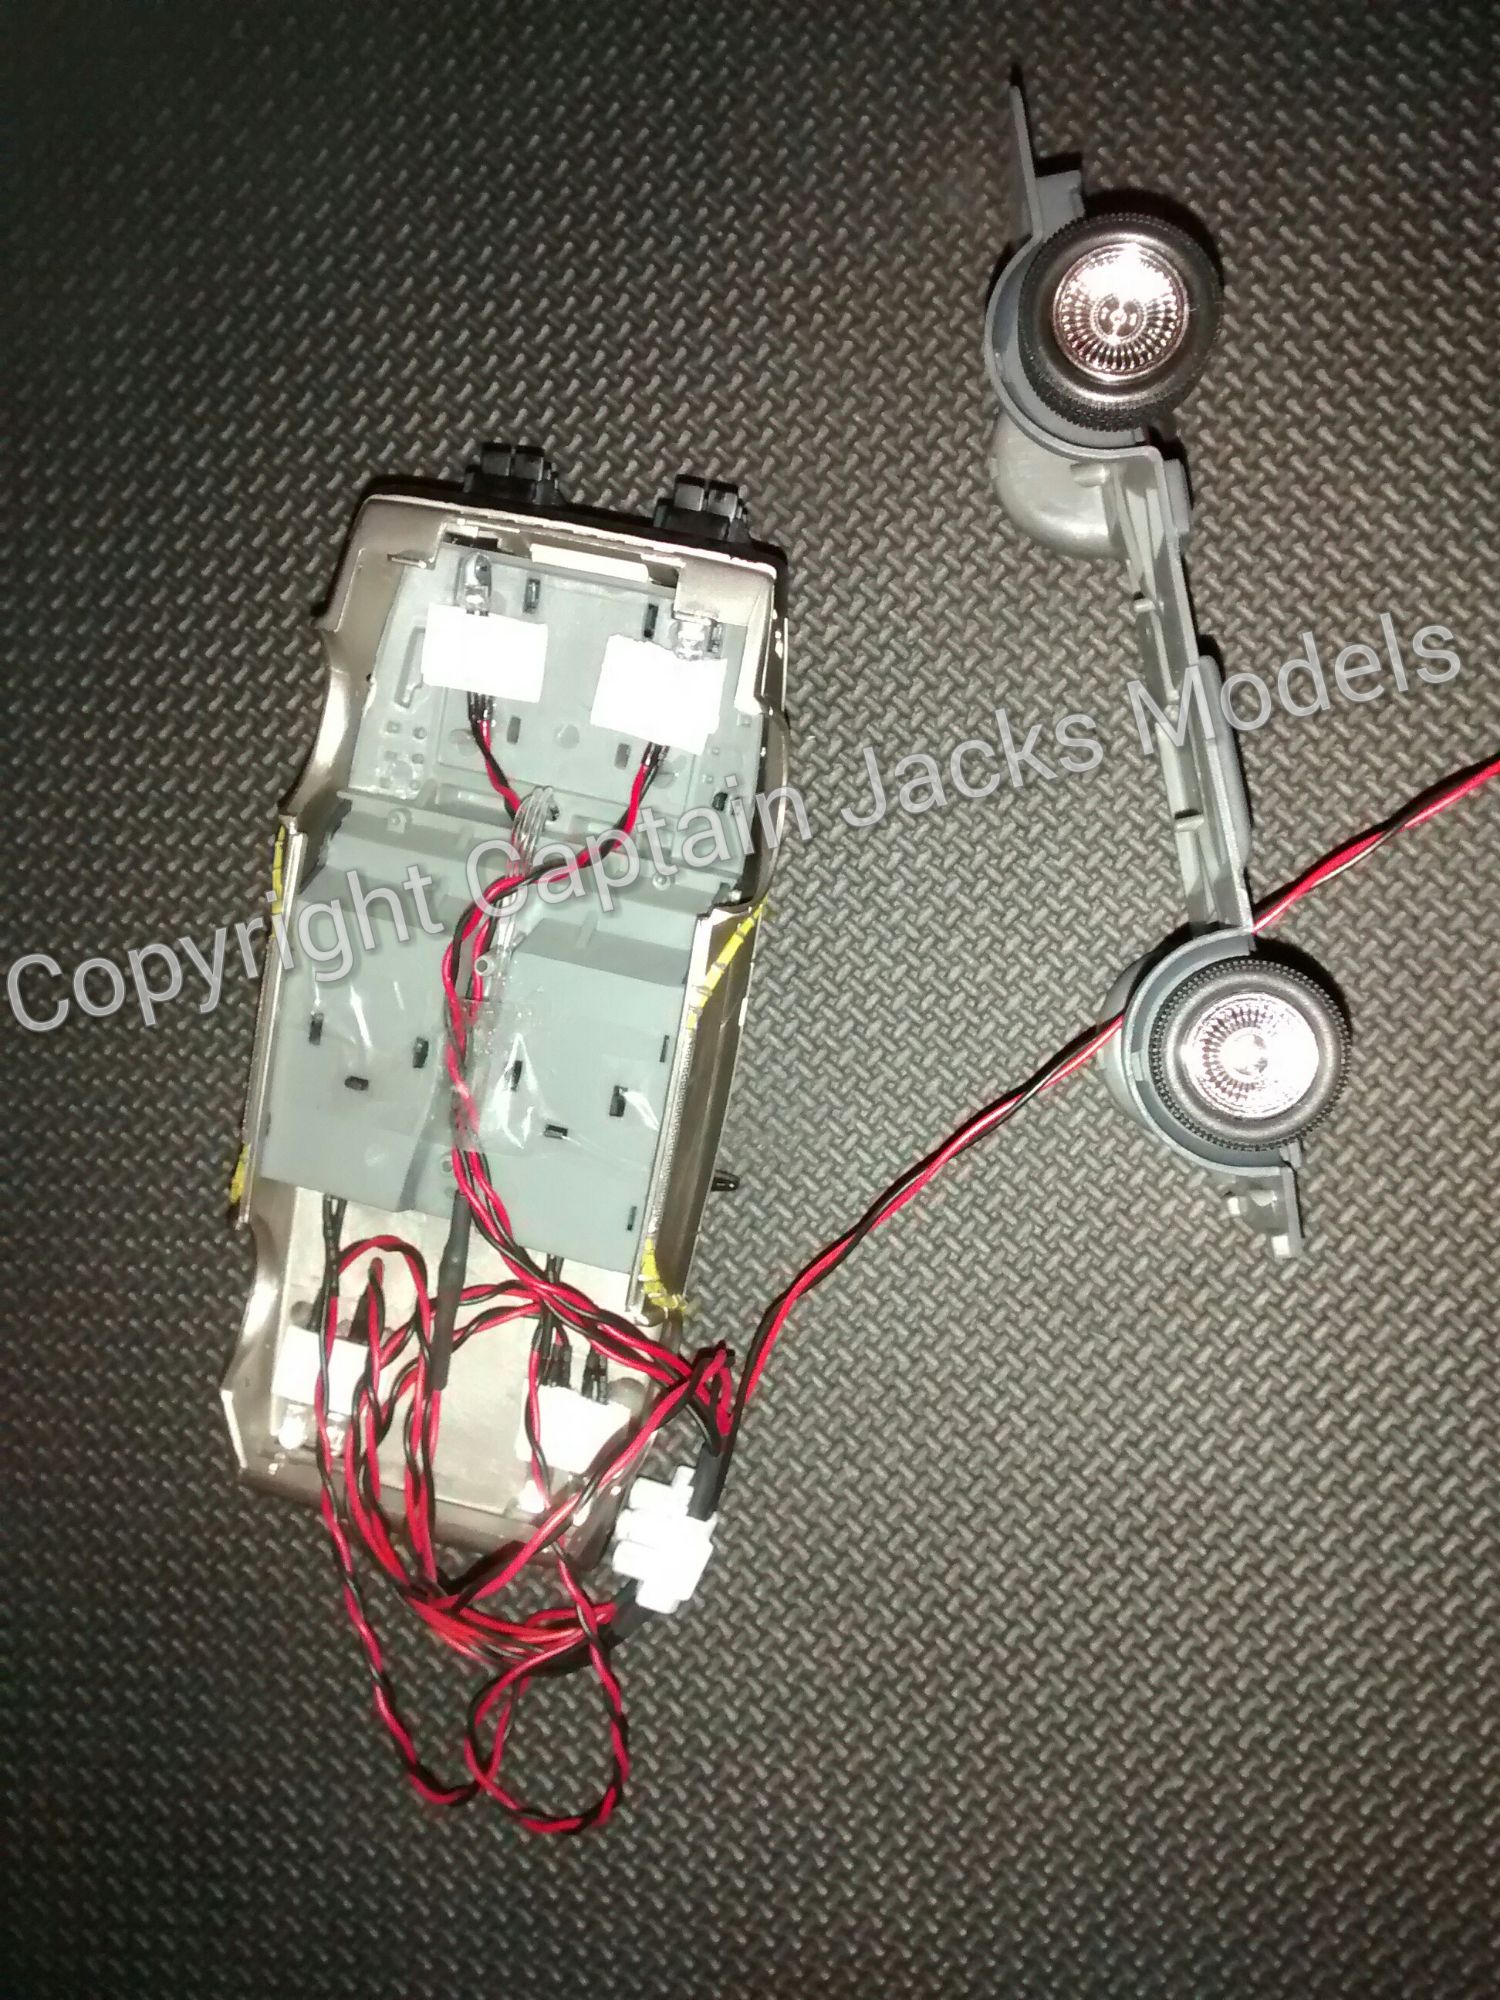
With your light kit, you will find a strip of 8 double sided sticky pads. Place one sticky pad just behind each headlight on the underside of the bonnet. Remove the final backing paper from each pad, and place each of the four white leds in position as shown behind the headlights. Again, switch the light kit on and check that each led illuminates the lights correctly.
Step 14
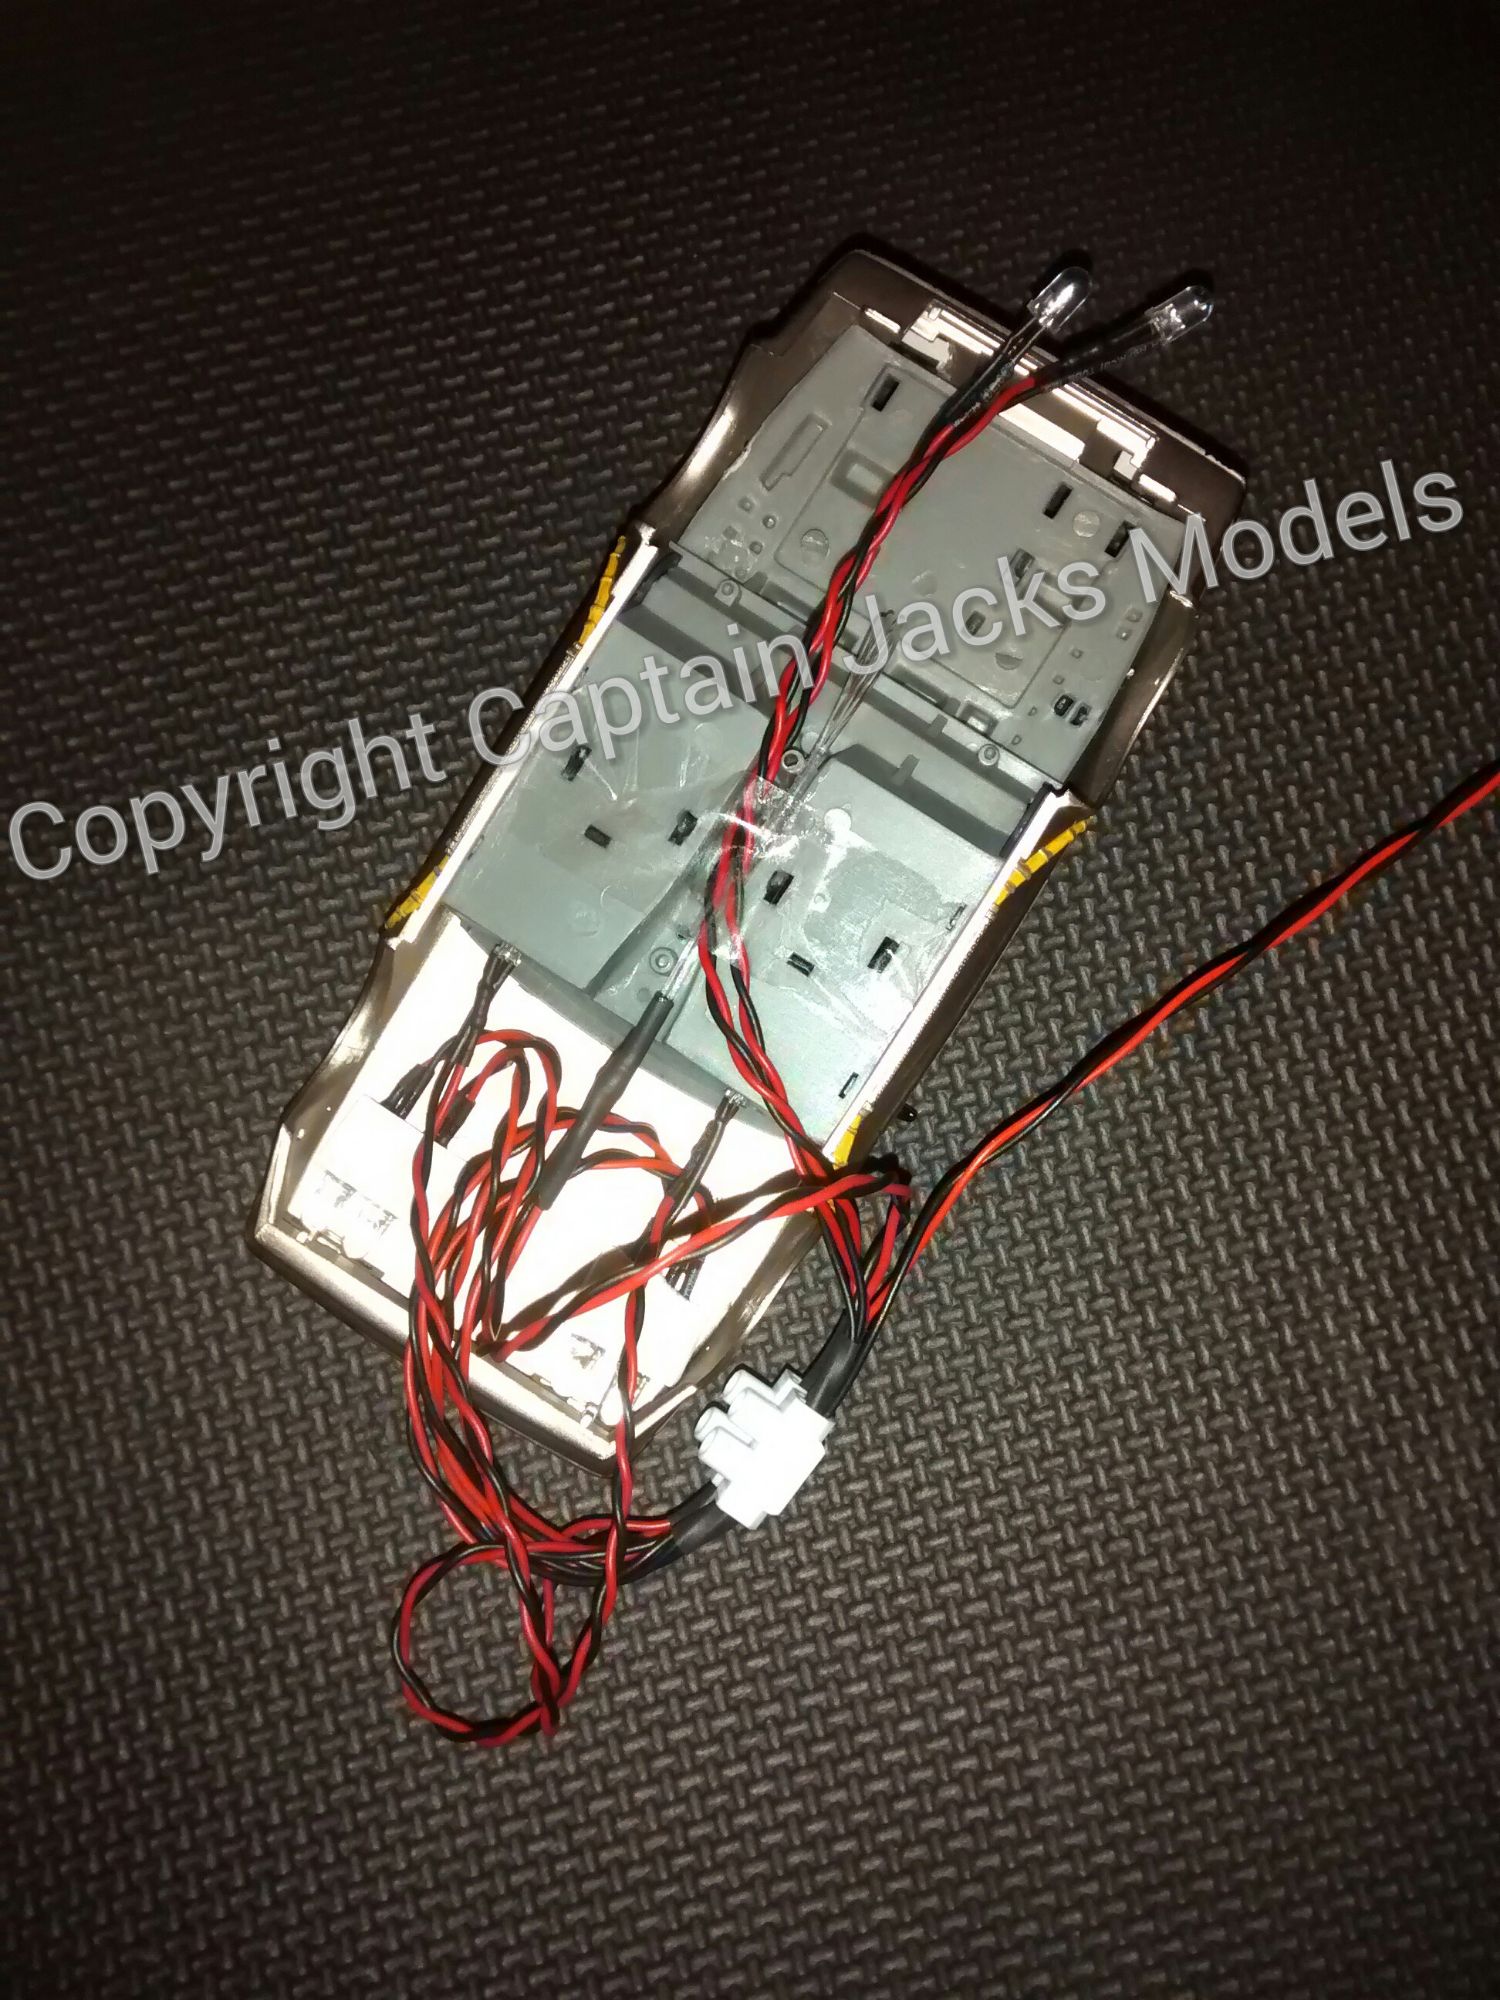
When happy with the fit, remove the backing from one side and place another sticky pad over the led wires as shown to secure them. Do not remove the backing paper nearest to you. To ensure the leds remain in place, its also advisable to super-glue the led wires in place on the underside of the bonnet behind the sticky pads.
Step 15
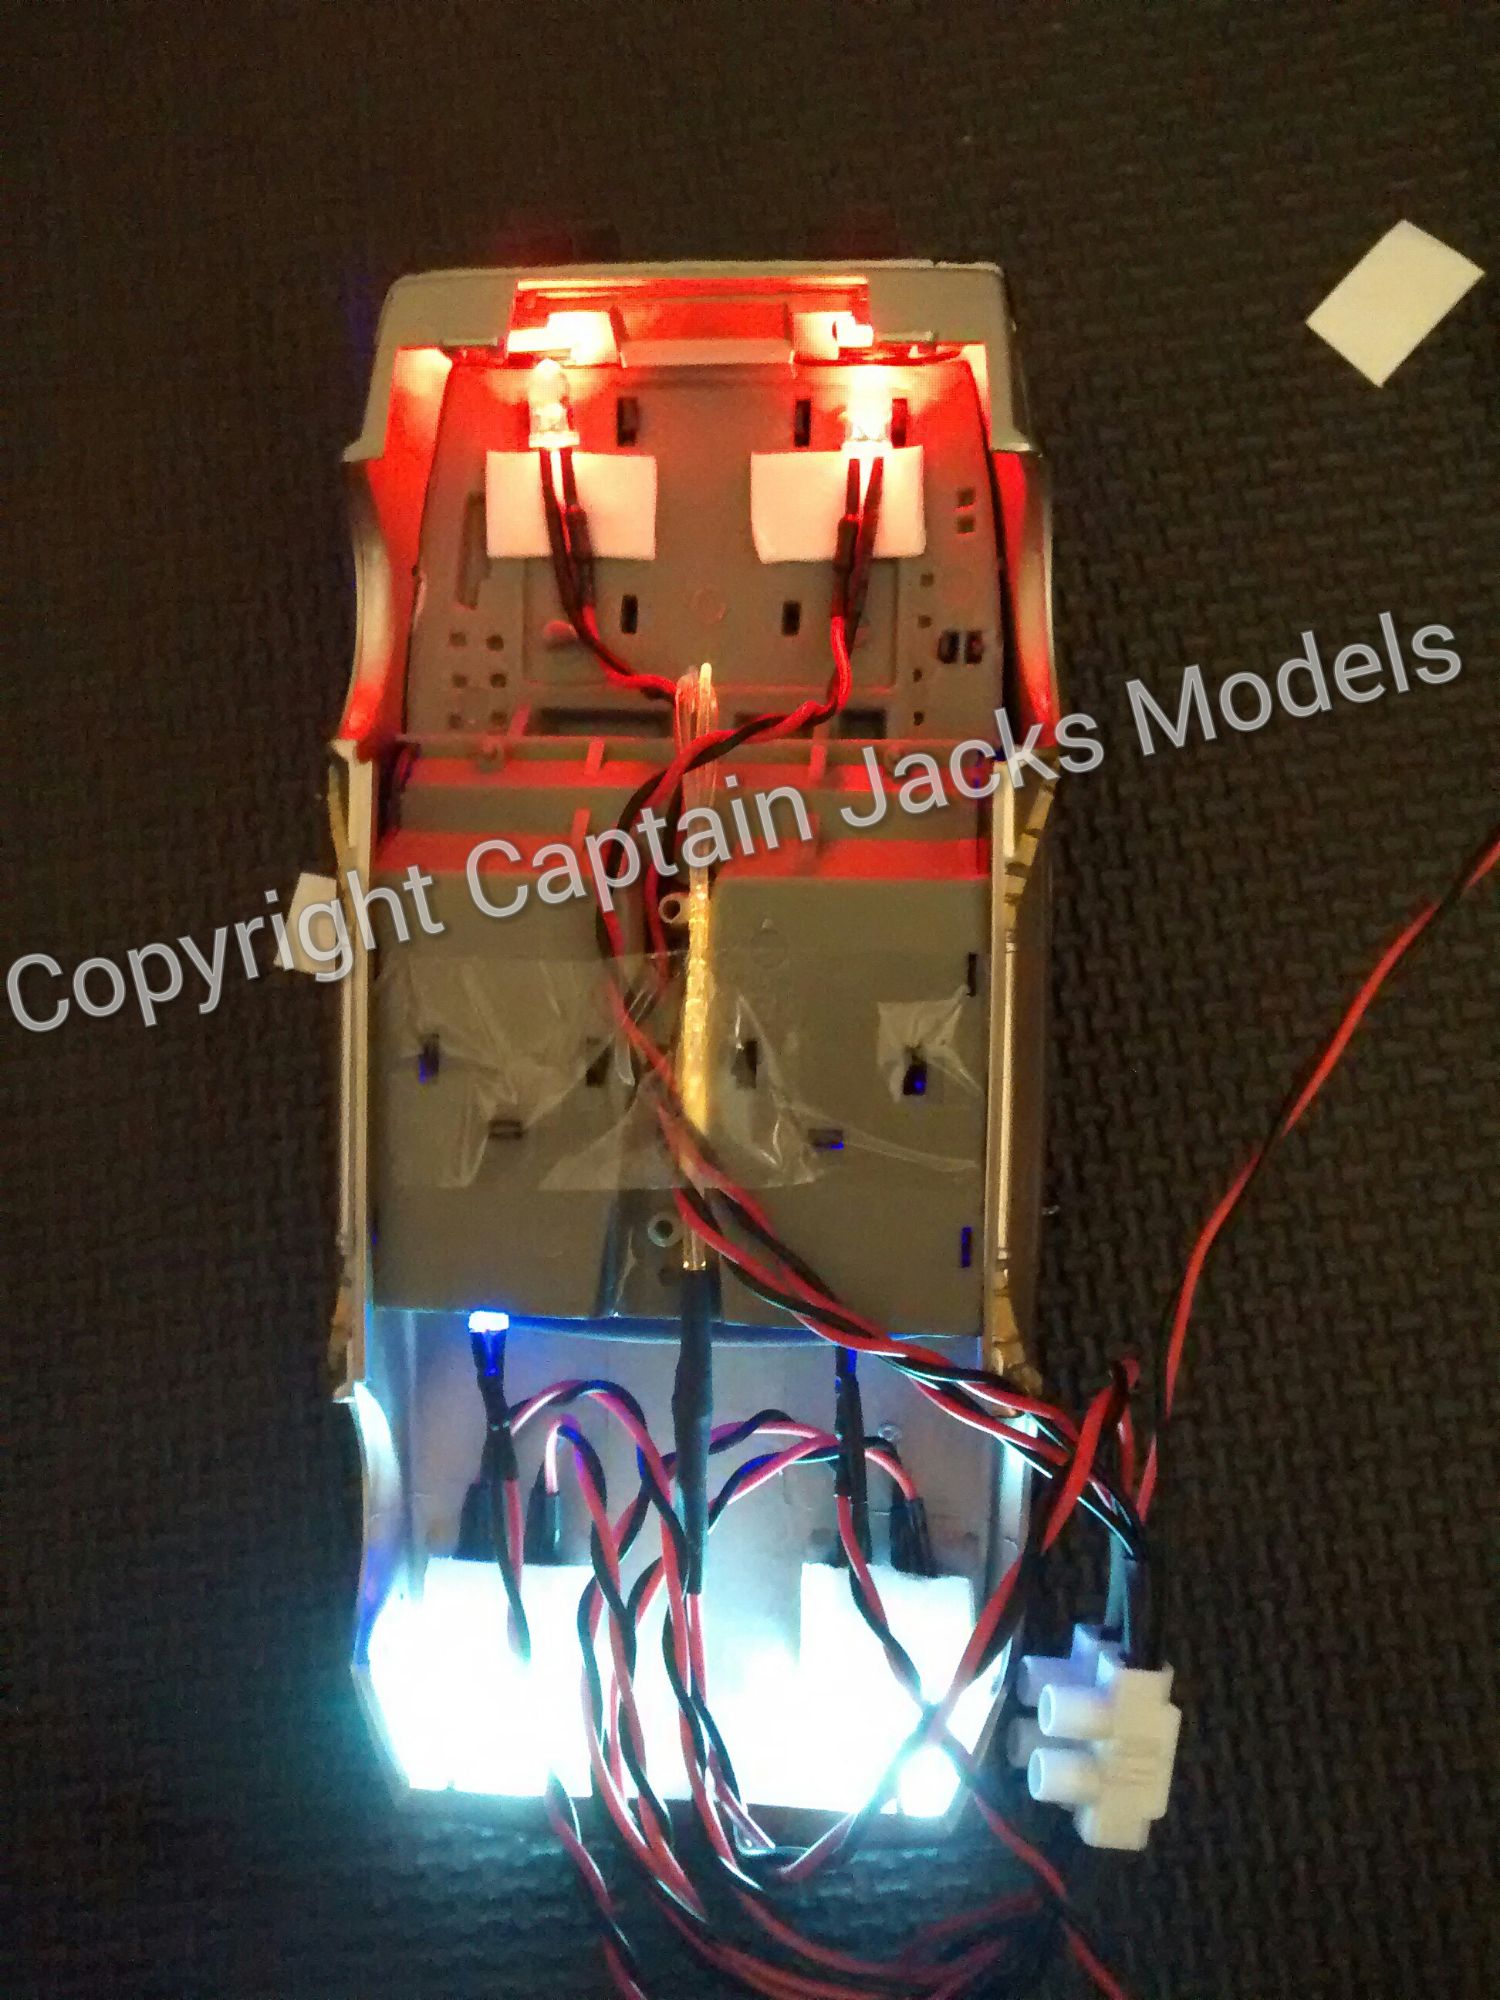
Fit the car interior into the upper shell. At this point, its also easier to clip in place the two black rear exhaust ducts

Step 16
In the same way as you did with the white headlights, position the two red leds behind the rear lights. Again switch the set on, and ensure that they illuminate only the red section of the rear light print. Secure using extra sticky pads and superglue as with the headlights.
Step 17
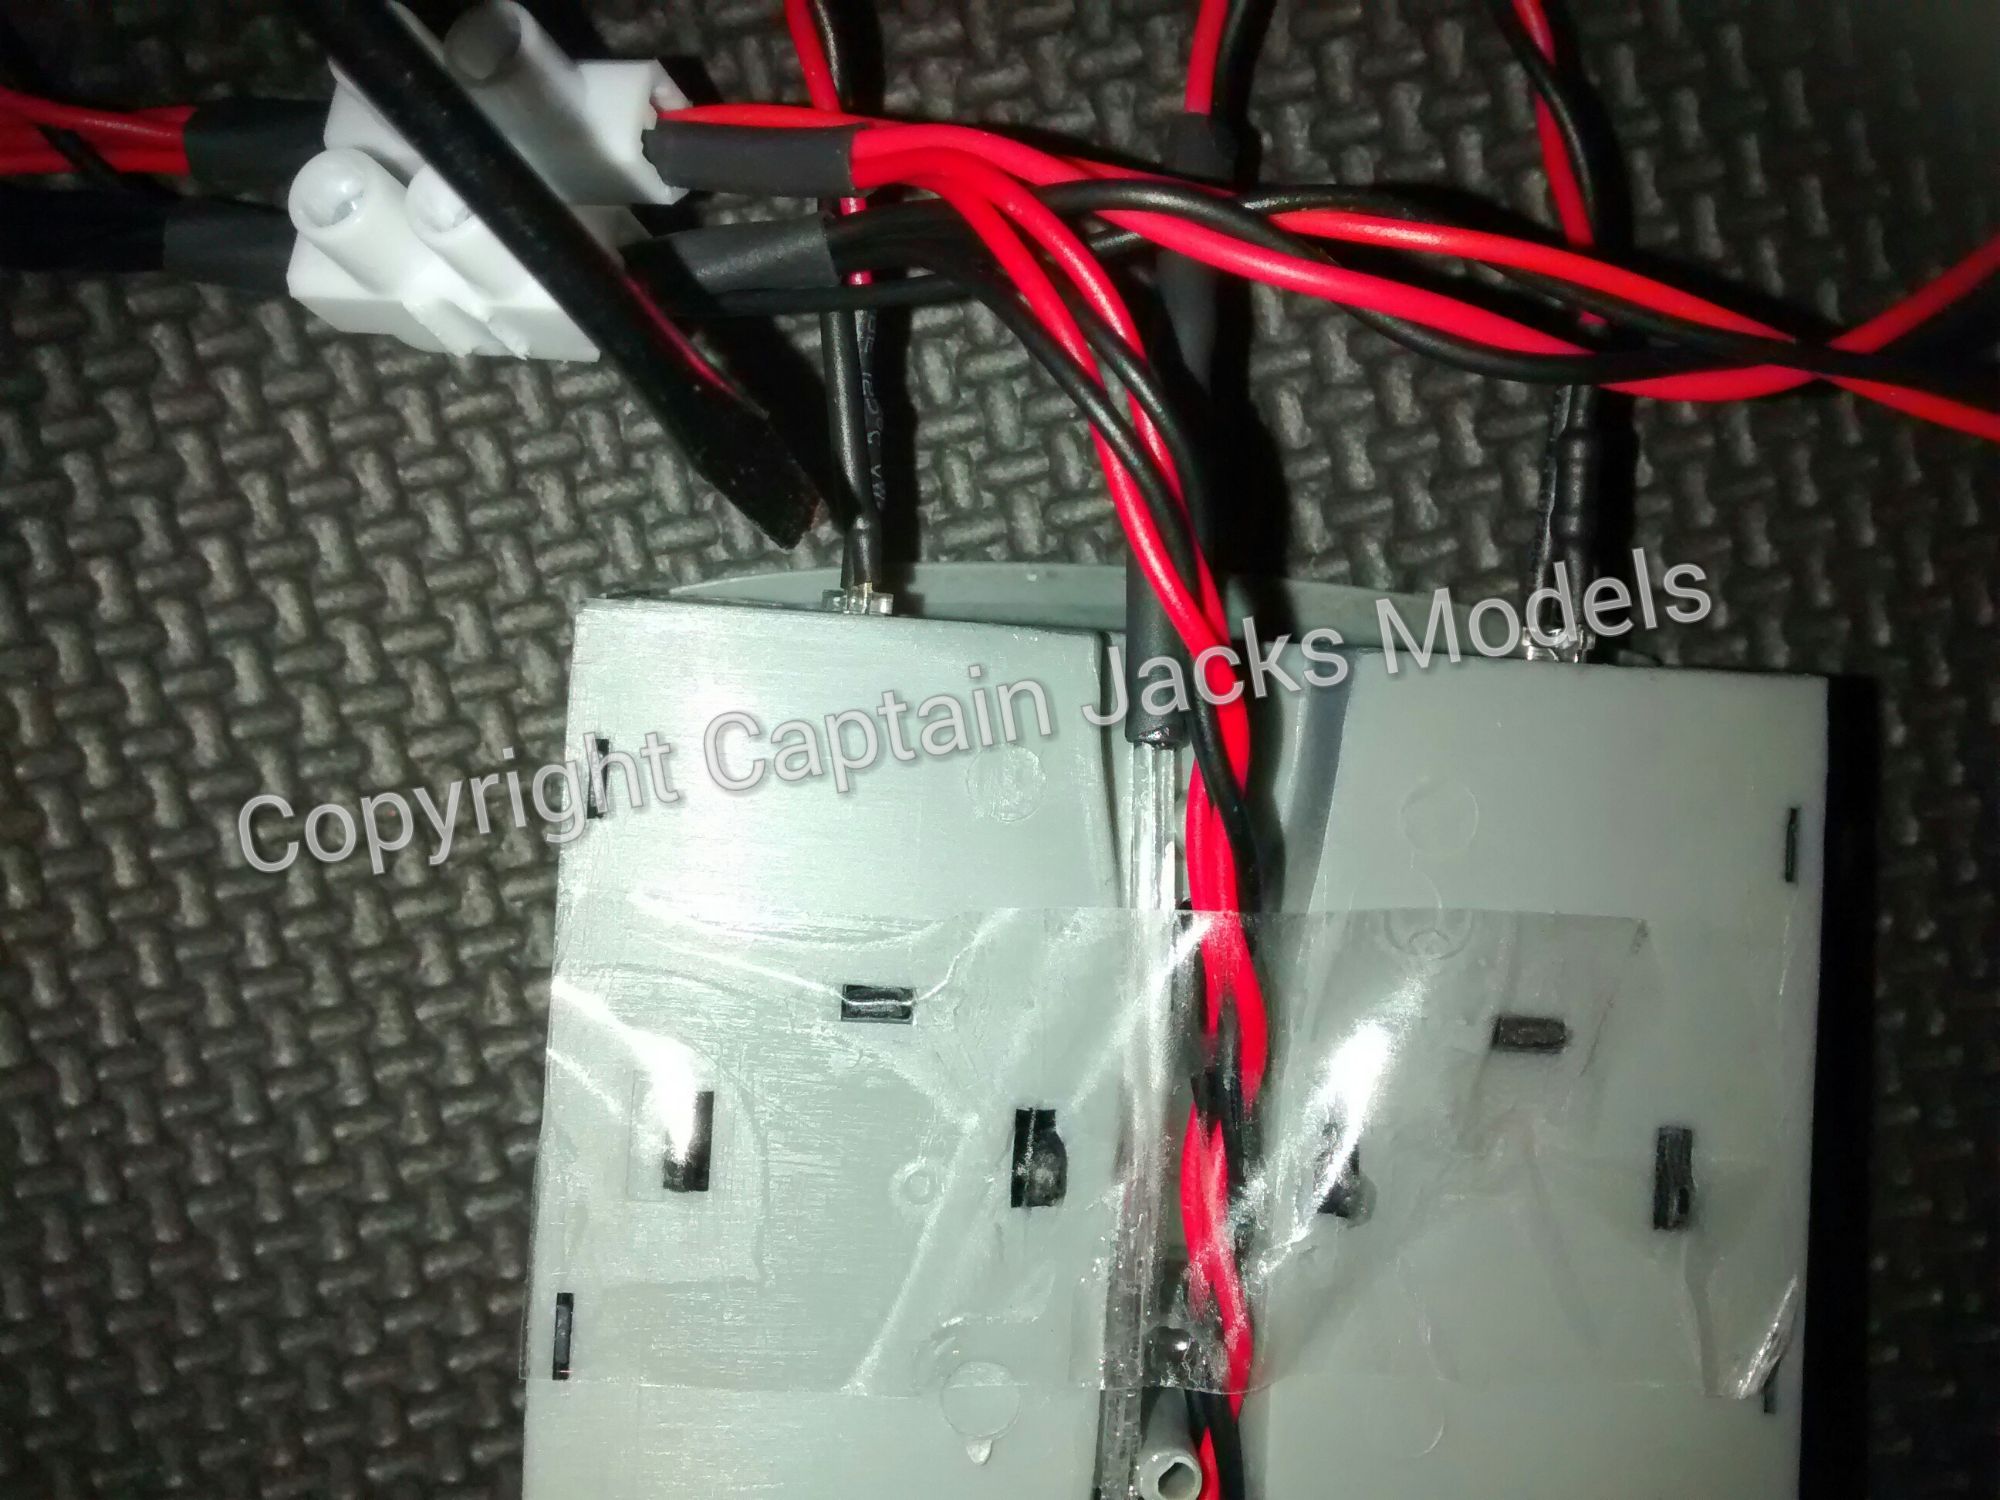
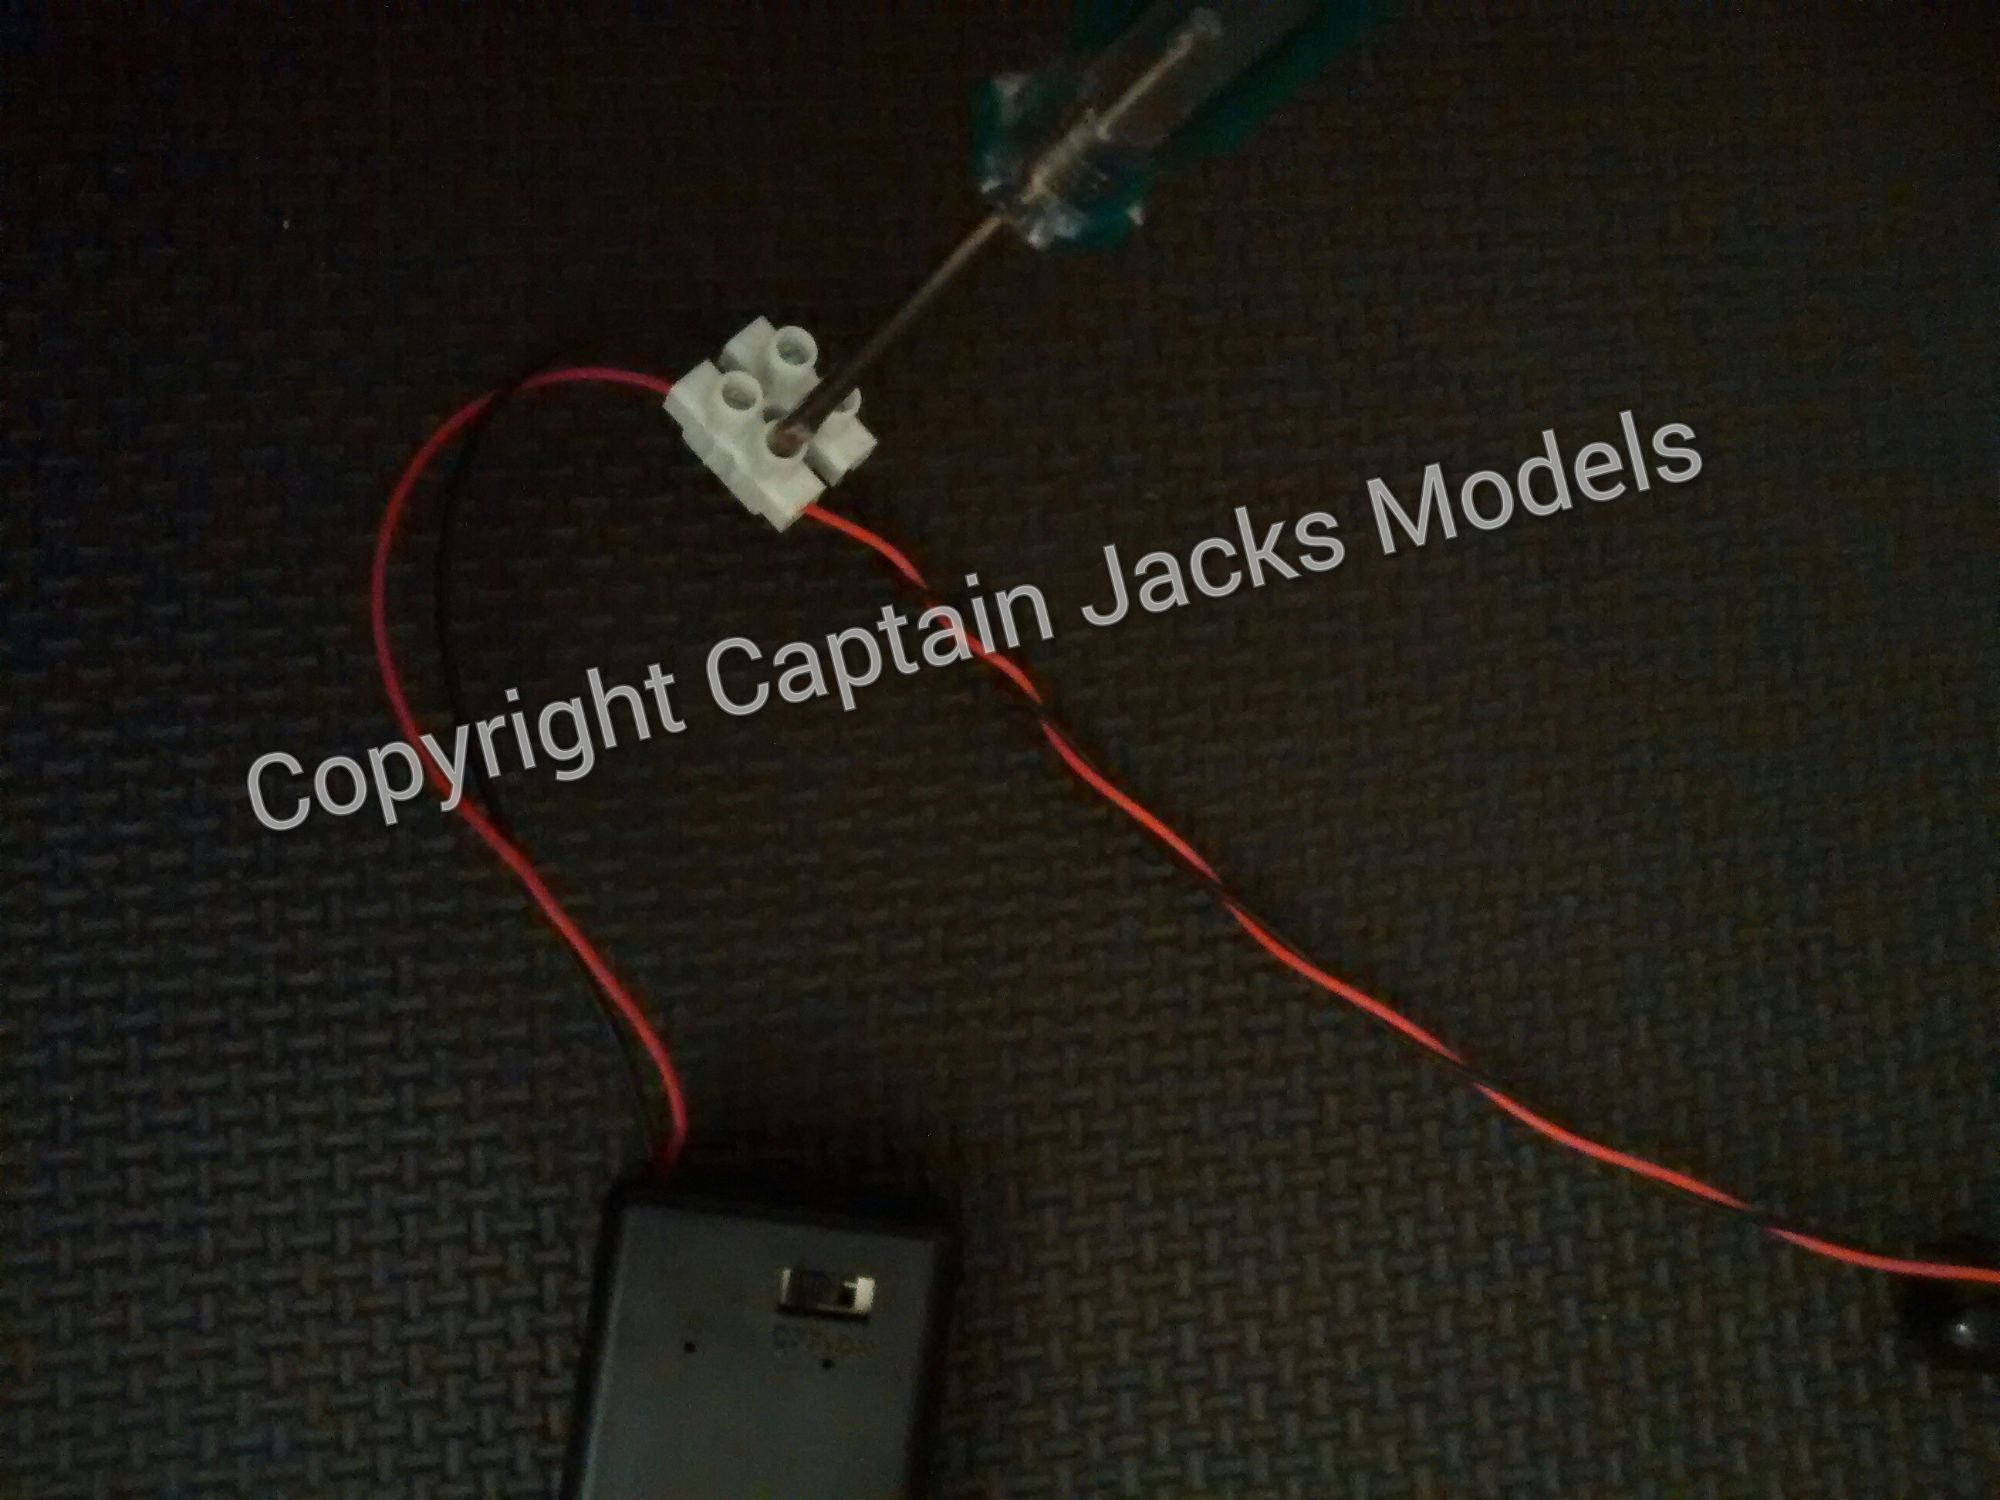
Nearly done now :) Unscrew the terminal connector nearest the battery box and remove all wires from it.
Step 18
Run the main power lead from the set through the hole in the cars base. Double check each led to ensure that they are firmly glued into position.
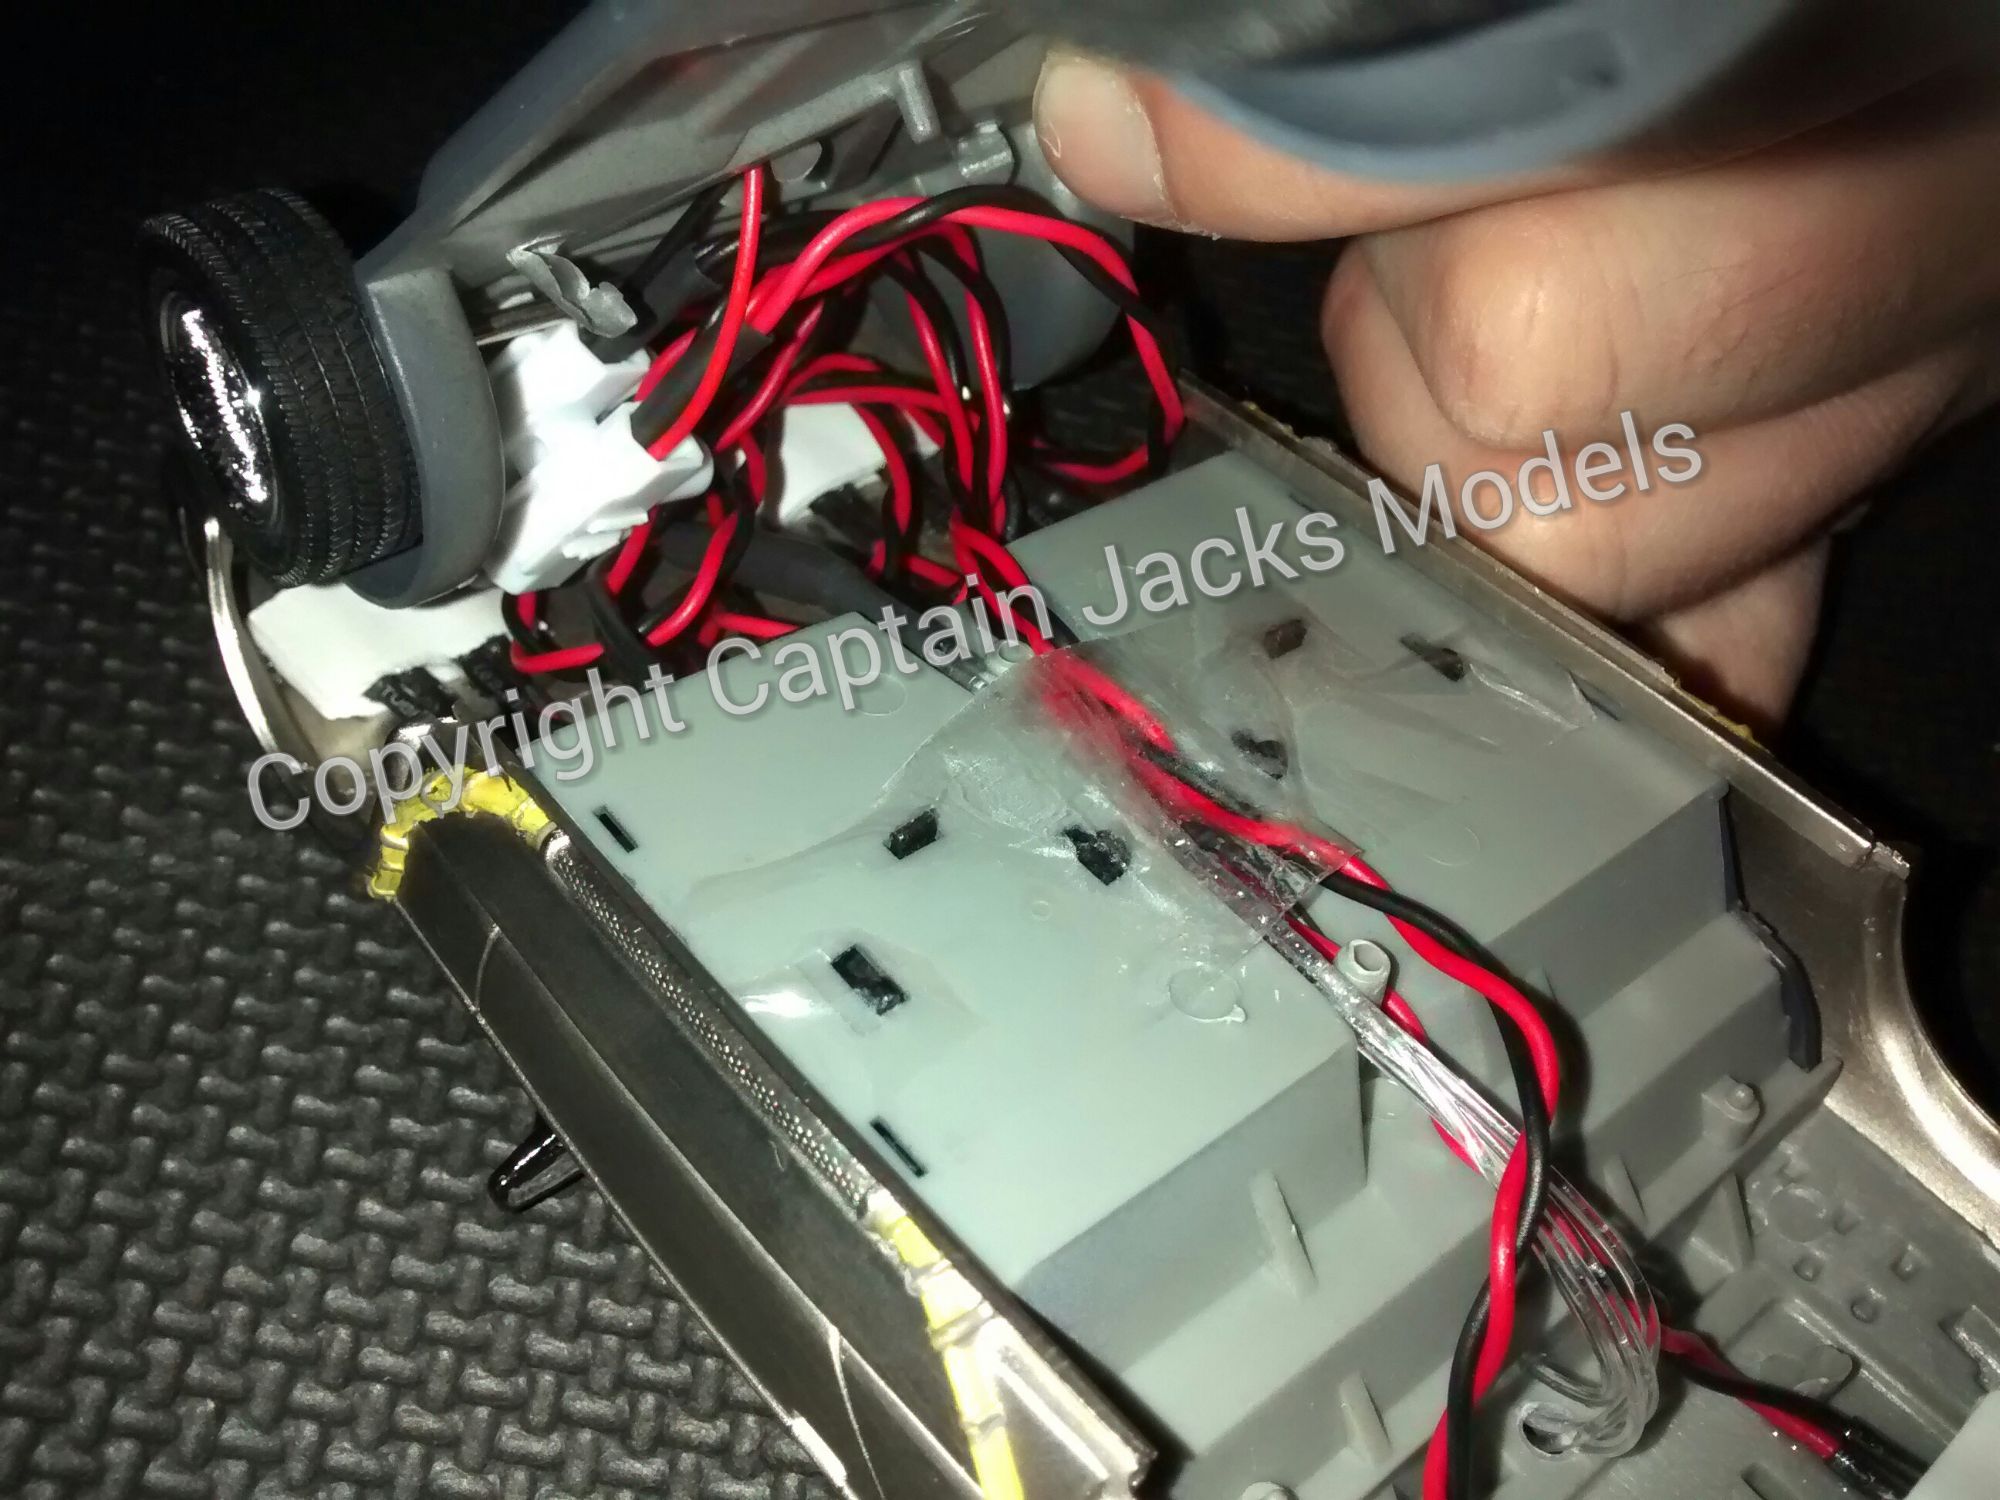
Step 19
The bit thats easier than it looks. Carefully fold in all of the wiring under the car bonnet, and ease the car base into position. This can take a couple of attempts - don't force the base into position, just gently move the wiring into place as the car base clips in.
Step 20
With the main structure of the car in place, re-connect the battery box, complete the rest of the external detailing and its job done! One superb quality bargain priced Delorean :)
